Yellowstone National Park and Grand Teton National Parks are two of the United States most stunning parks, and they sit right next to each other! You could spend weeks exploring each of these parks individually, but most of us aren’t lucky enough to have that amount of time. In this The Ultimate Yellowstone and Grand Teton National Park Trip Itinerary, I walk you day by day for how we spent one week adventuring through these two amazing parks. For more information on lodging, restaurants, and more, head to my post for how to spend 3 days in Yellowstone National Park, and 3 days in Grand Teton National Park.
Itinerary Overview
We chose to do a North to South route for our trip, but this could easily be reversed depending on your preferred arrival and departure location! I also want to note that we like to pack in as much as possible on our National Park vacations. We want to see as much as we can, because we don’t know the next time we will be able to come back. As a result, our itinerary is going to look very full, because it was! I have tried to note things that are can’t miss sights, as well as the ones that we did that if you are shorter on time, or just want to take it at a slower pace, you could skip.
A few other things to note. Drive times are approximate and do not take into account any sight seeing stops. Restaurants and loding listed are just where we ate and stayed, but there are many other options within each park!So, without further ado, let’s get into it!
- North to South Route
- Day 0
- Fly into Bozeman Yellowstone International Airport (BZN) the day before your trip officially begins
- Rent a car and drive to Gardiner, Montana
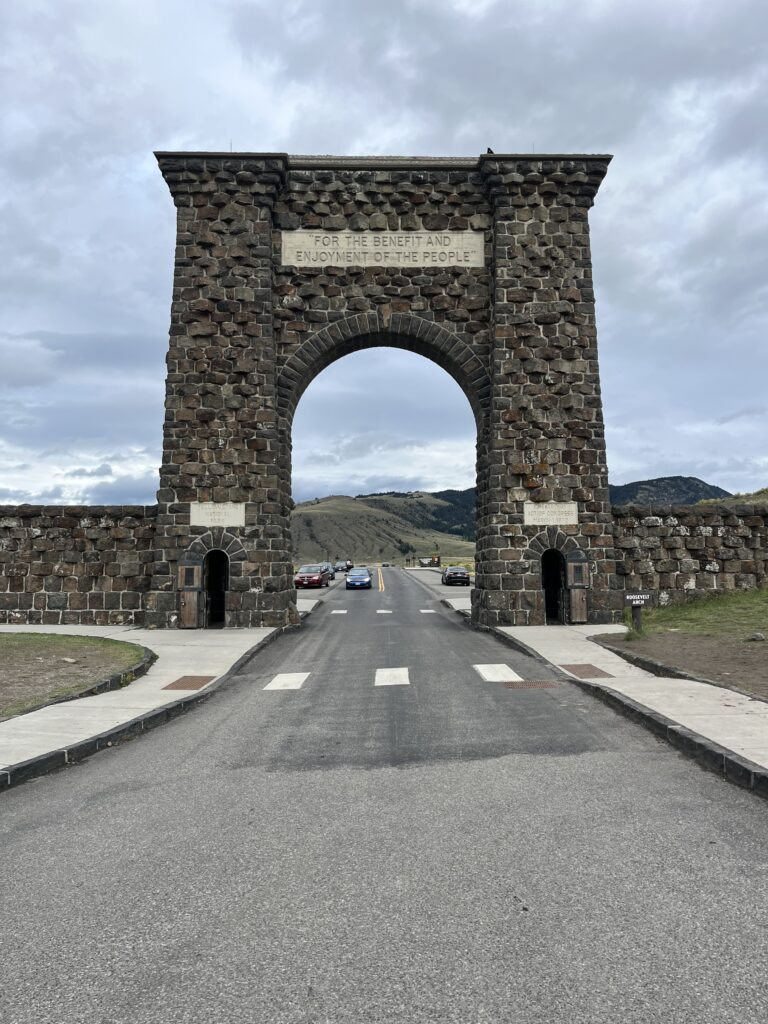
- Visit the historic Roosevelt Arch
- Depending on your flight arrival time, head into Yellowstone National Park for a sneak peak at Mammoth Hot Springs!
- Stay overnight in Gardiner, Montana, or at Mammoth Hot Springs Lodge
- Day 1
- Norris Geyser Basin Trails
- Artist Paintpot Trail
- Gibbon Falls
- Firehole Canyon Drive & Firehole Falls
- Stay at Mammoth Hot Springs Lodge
- Day 2
- Lamar Valley
- Tower Fall
- Chittenden Road to Mount Washburn Hike
- Grand Canyon of the Yellowstone
- Upper Falls
- South Rim Drive
- Artist Point
- Upper Falls view point
- North Rim Drive (After dinner!)
- Lookout point
- Grand view point
- Day 3
- Sulphur Cauldron
- Mud Volcano Trails
- Lake Yellowstone & Gull Point Drive
- West Thumb Geyser Basin
- Old Faithful & Upper Geyser Basin
- Old Faitfhul Inn
- Grand Prismatic Spring Overlook Trail
- Midway Geyser Basin Boardwalk
- Day 4
- Drive to Grand Teton National Park
- Delta Lake Hike
- Day 5
- Jenny Lake trail head to Moose pond
- Continue around Jenny Lake to Hidden Falls
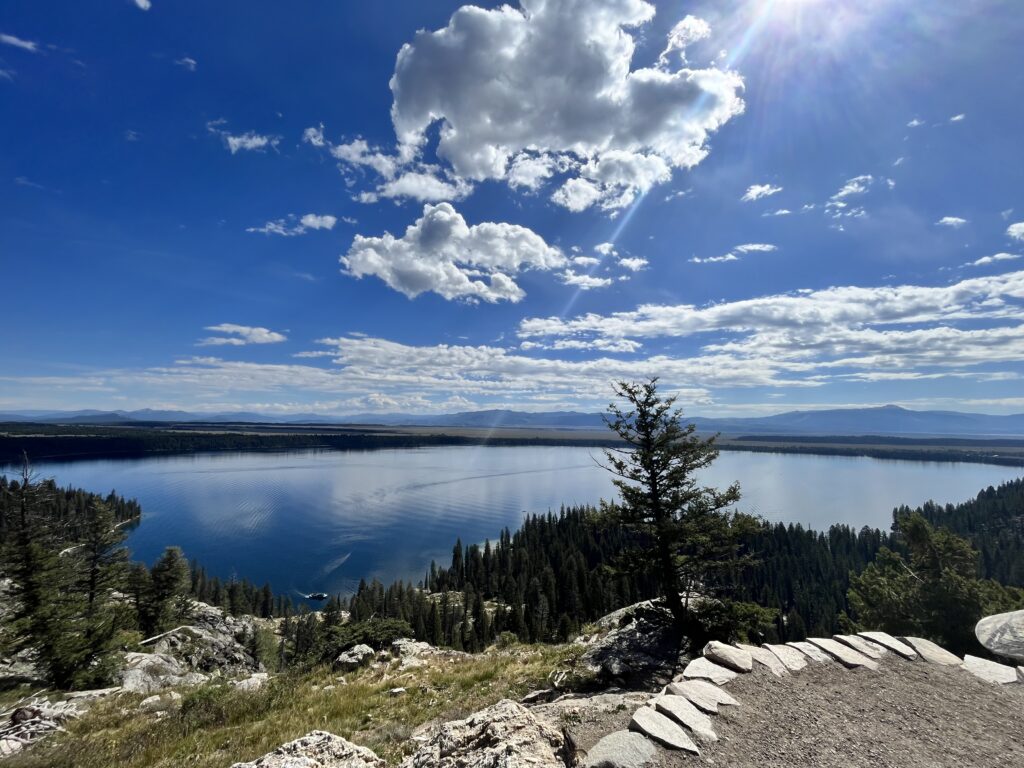
- Inspiration Point
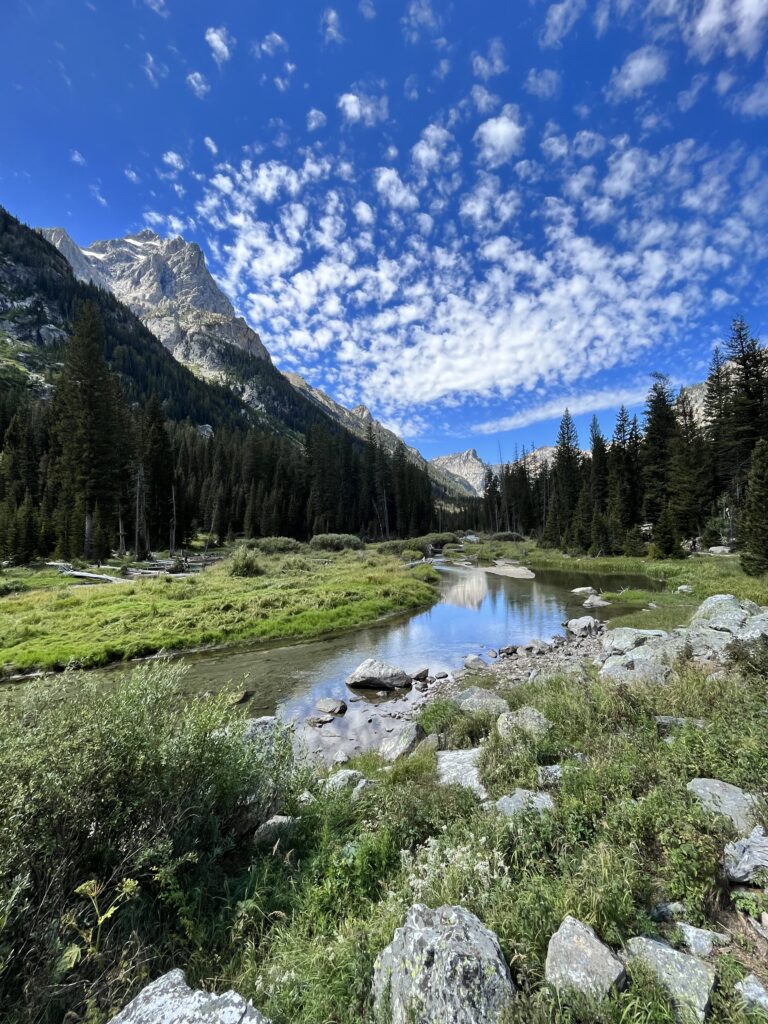
- Cascade Canyon
- Mormon Row for Iconic Barn Photo
- Jackson Hole
- Day 6
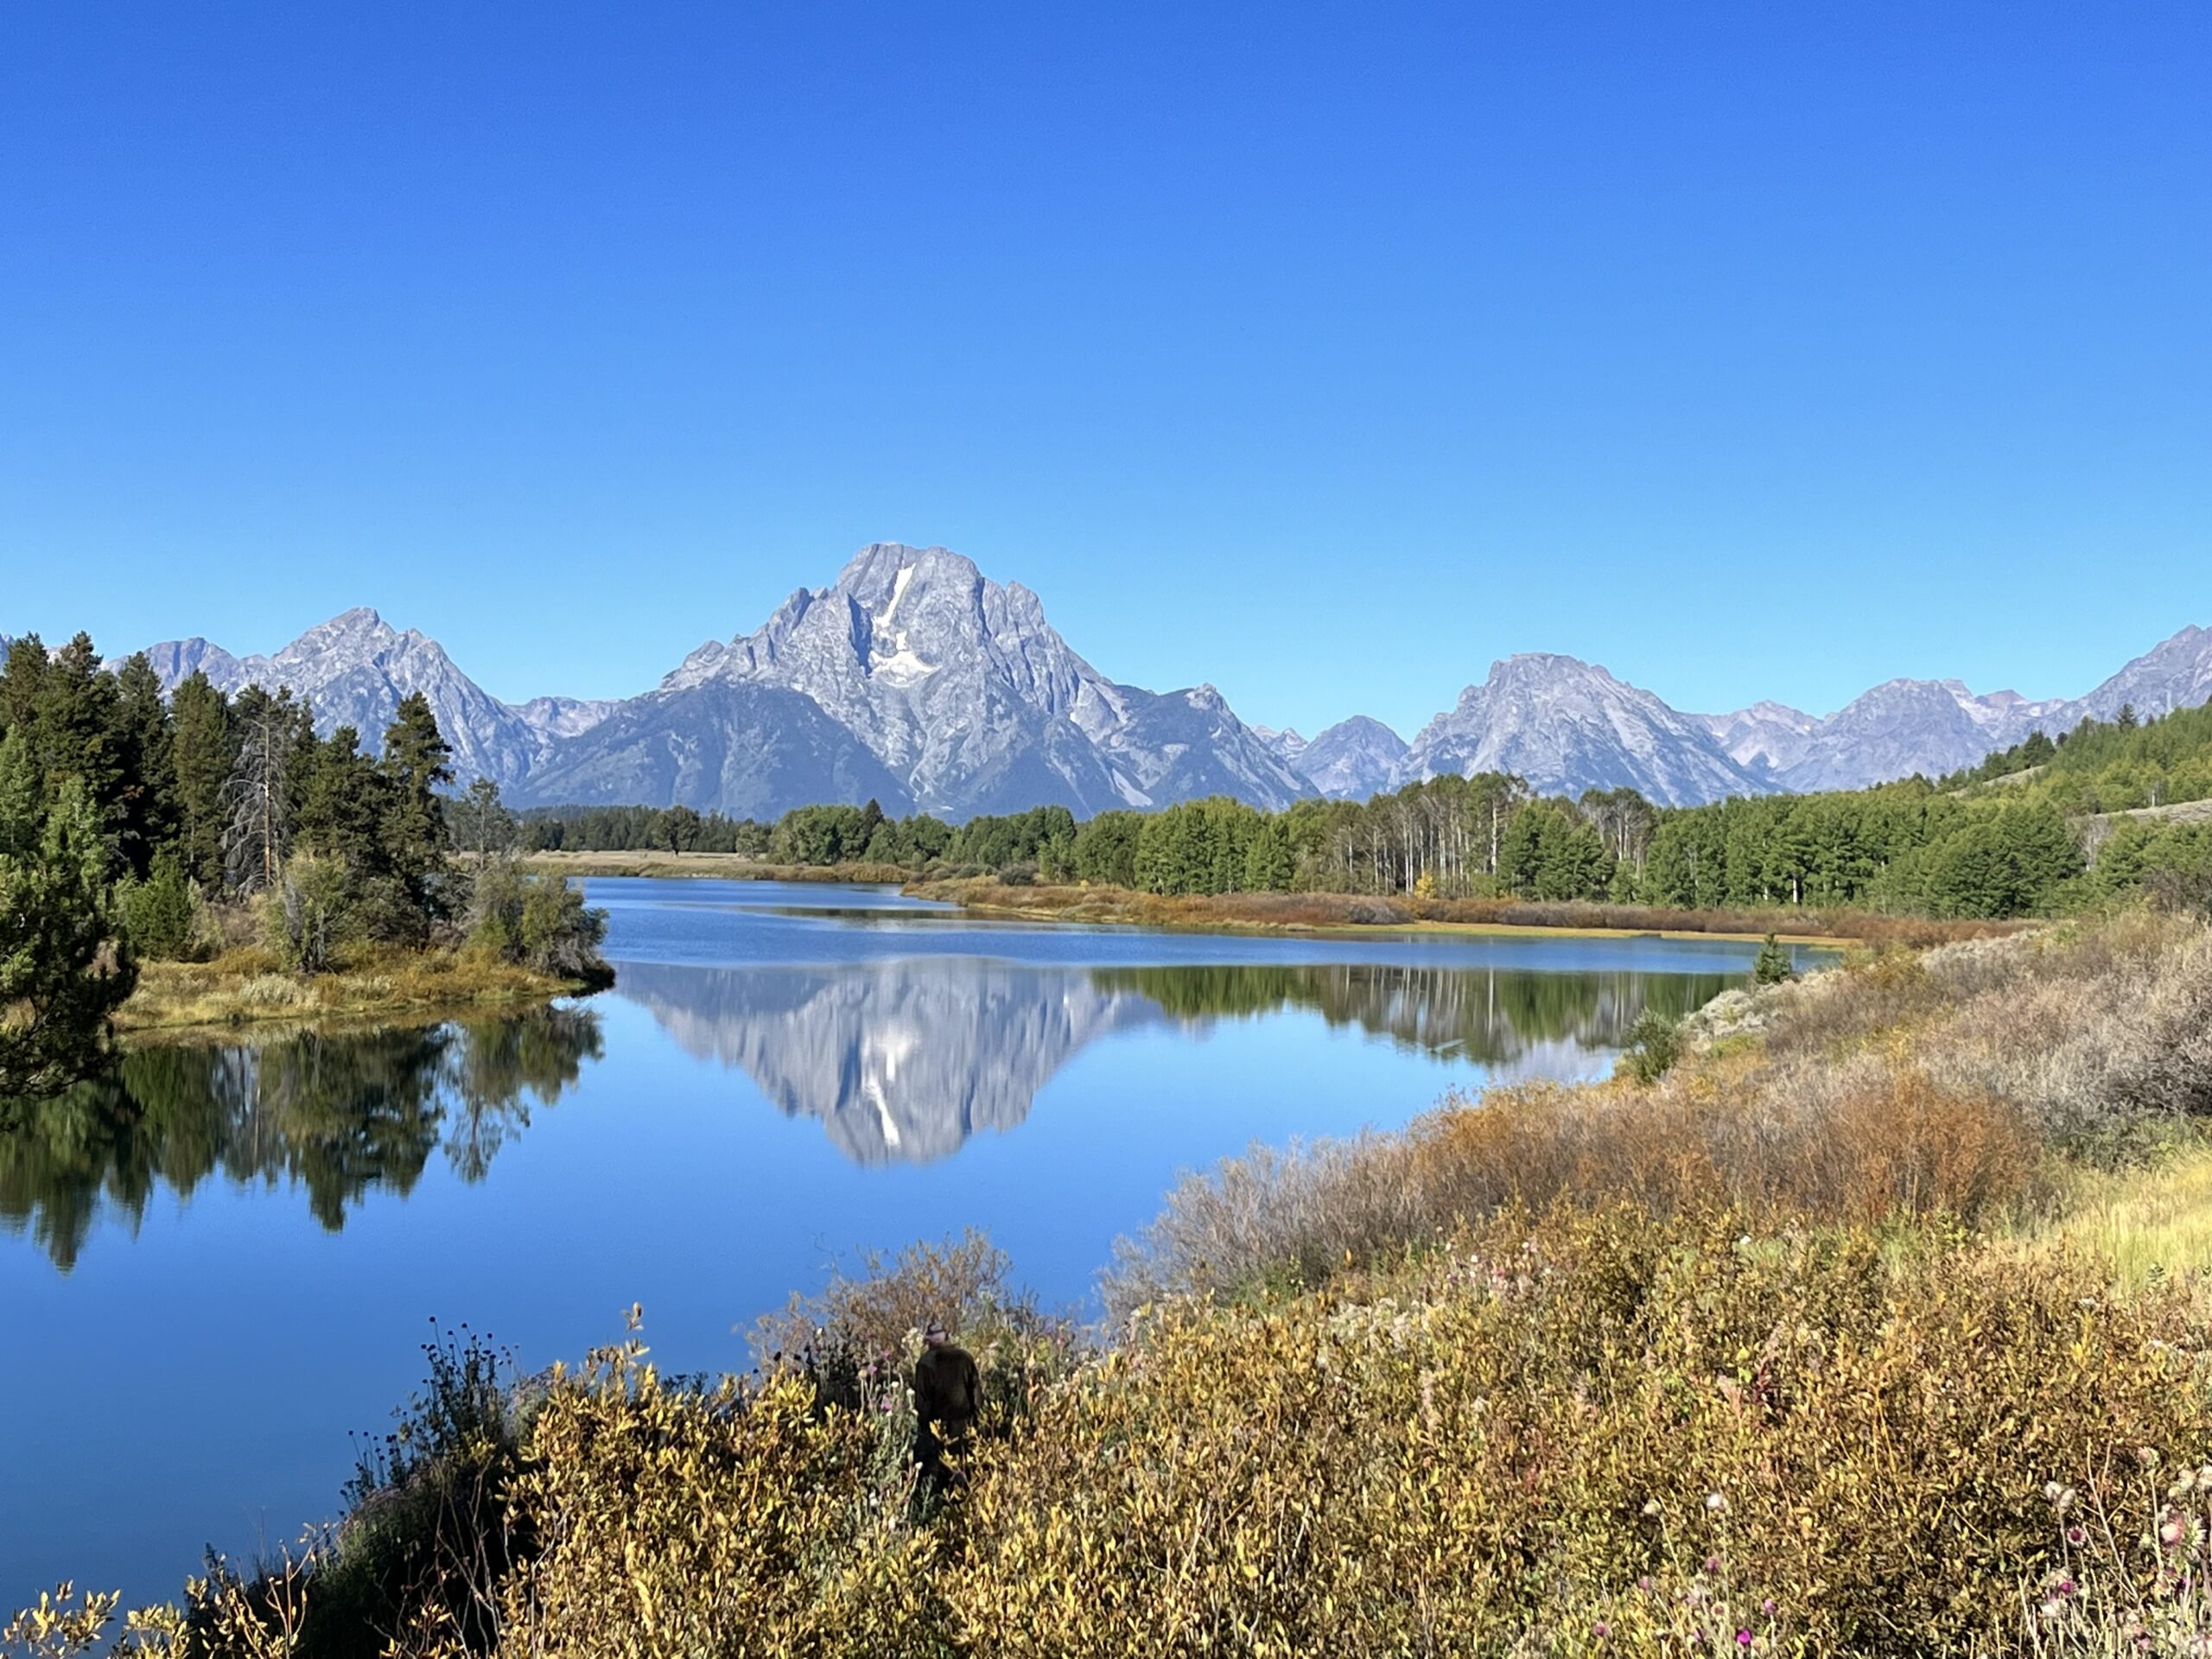
- Oxbow Bend
- Taggart and Bradley Lakes
- Jackson Hole
- Day 7
- Depart for home
- Day 0
Day 0
I call this day 0, because it was technically our travel day, and our original flight wasn’t going to land until much later in the evening. However, we got lucky and our flight schedule got changed, and this time for the better! This is where your plans could vary from ours, depending on the arrival time of your flight. We arrived in the early afternoon and were able to get our sightseeing started a little early.
Arrive into Bozeman, Montana
Most major airlines fly into Bozeman Yellowstone International Airport (BZN). This will be the best starting point if you are taking a North to South route.
Rent a Car and Drive to Gardiner, Montana
Before leaving Bozeman, I recommend stopping at the Walmart or Costco to stock up on snacks and other food essentials. We had planned to have picnic lunches most days and eat at restaurants within the park for dinner.
We booked our car through Costco Travel! I love Costco Travel because they allow free cancellation, and you get the second driver for free. I frequently checked the price for our rental, and was able to save over $200 with this method by canceling and rebooking at the lower price!
Visit the Historic Roosevelt Arch
This is an iconic photo op that you cannot miss! The arch is named for President Theodore Roosevelt, who was the man behind the National Park System. The arch is inscribed with one of my favorite quotes, “For the Benefit and Enjoyment of the People” which was a phrase from the legislation that established Yellowstone National Park. It is an impressive stone fixture, and a perfect way to start your Yellowstone adventure!
Head into Yellowstone!
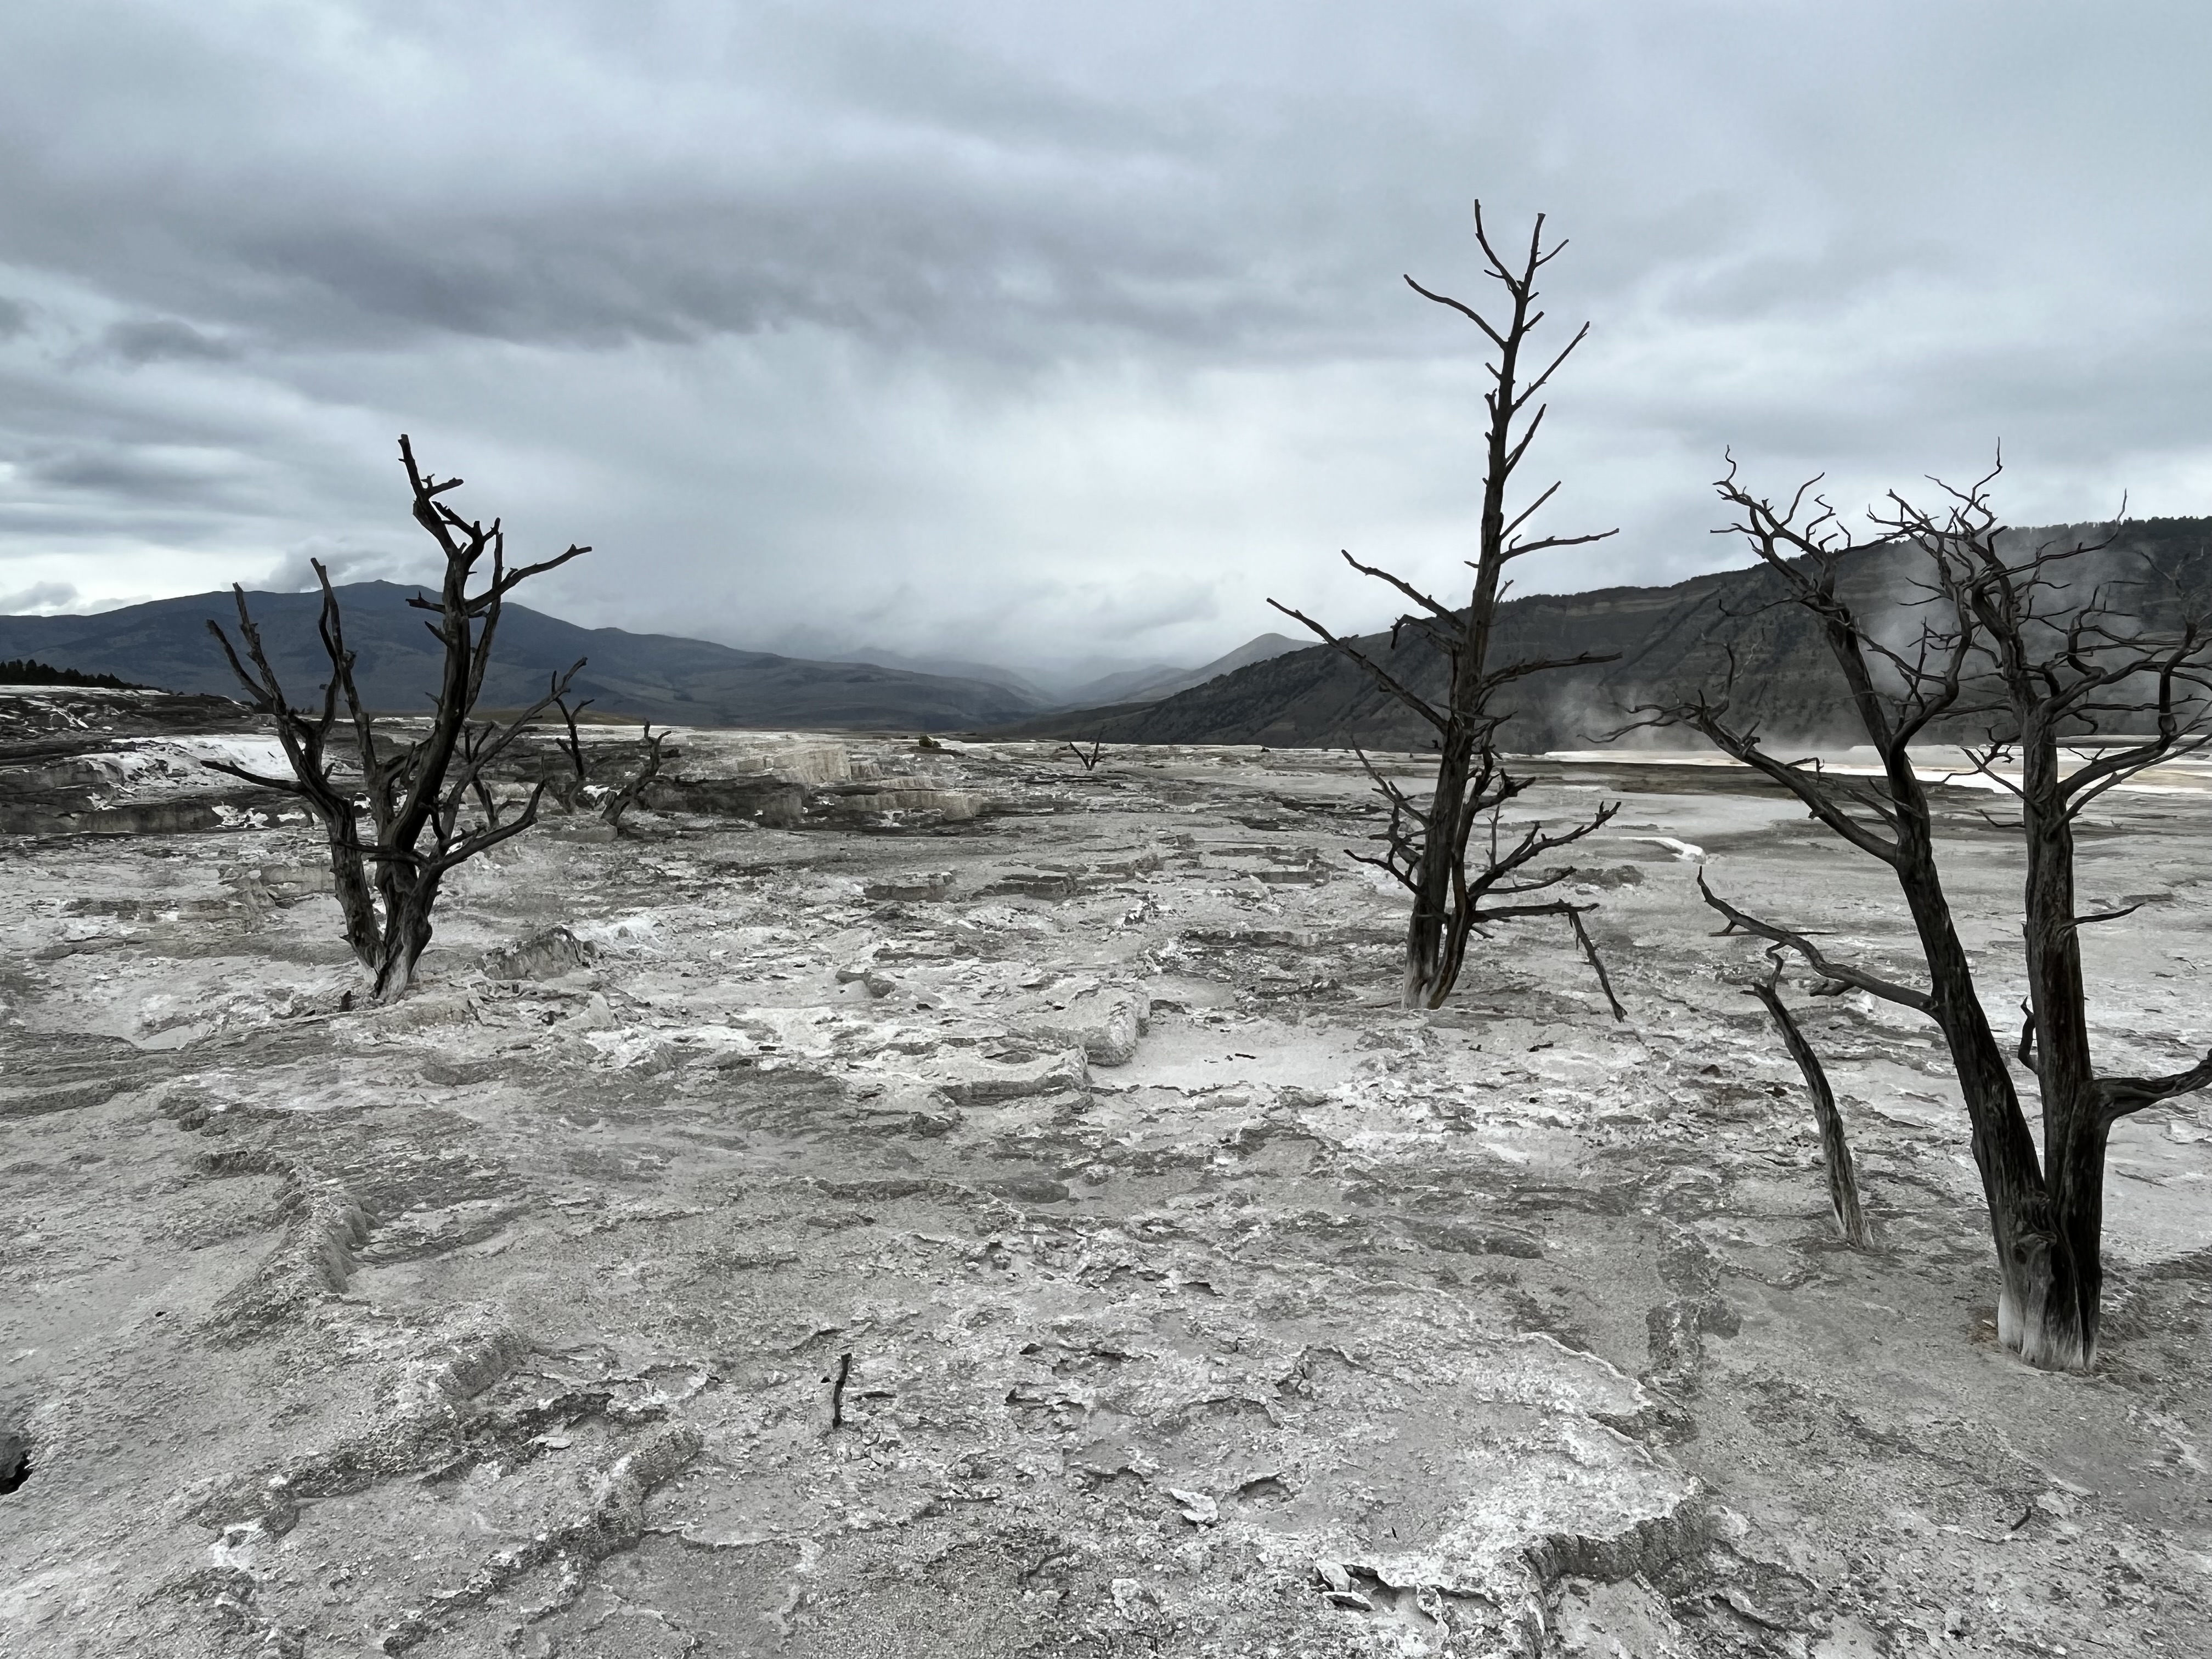
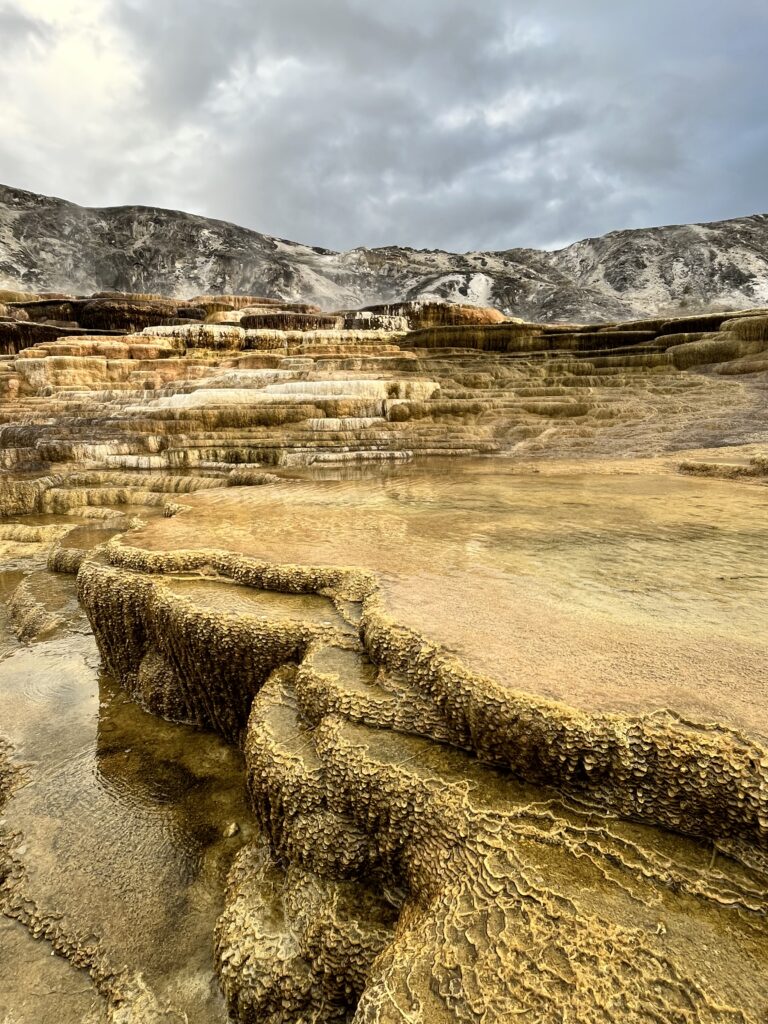
Depending on your flight arrival time, head into Yellowstone National Park for a sneak peak at Mammoth Hot Springs! Mammoth Hot Springs area is in the northern section of the park, and it sits north of the caldera. There are many boardwalks that meander through the terraces, many of them right over top of the thermal features. You will see an array of colors from various minerals in the ground and water that are deposited onto the terraces. It is fascinating to see how water has shaped the land and rock. To walk the Mammoth Terraces boardwalks, it is approximately 2.5 miles and takes a little over an hour to complete.
Day 0 Summary
- Drive time: 2-3 hours
- Restaurants: Iron Horse Bar and Grill in Gardiner, MT
- Lodging: Stay overnight in Gardiner, MT, or at Mammoth Hot Springs Lodge
Day 1
You’ll want to wake up early to get a head start on your first epic day inside Yellowstone National Park!
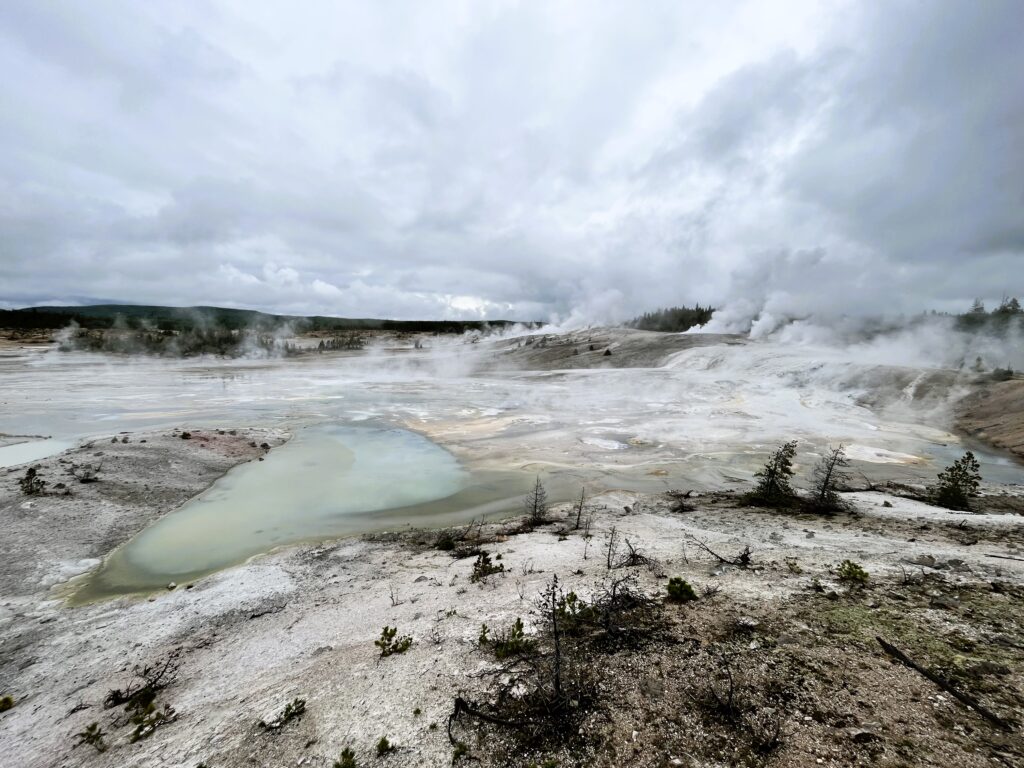
Norris Geyser Basin – Walk the Norris Geyser Basin Trails
The Norris Geyser Basin trails are separated into two loops, the Porcelain Basin and the Back Basin. To complete both loops, it is approximately 2.9 miles.
If you are physically able to walk both loops, I highly recommend doing both! There are endless hydrothermal features, most just a few feet off the boardwalks. Also a friendly reminder, stay on all marked paths and boardwalks. You don’t want to be one of those people who gets shown on the news that steps into a hot spring!
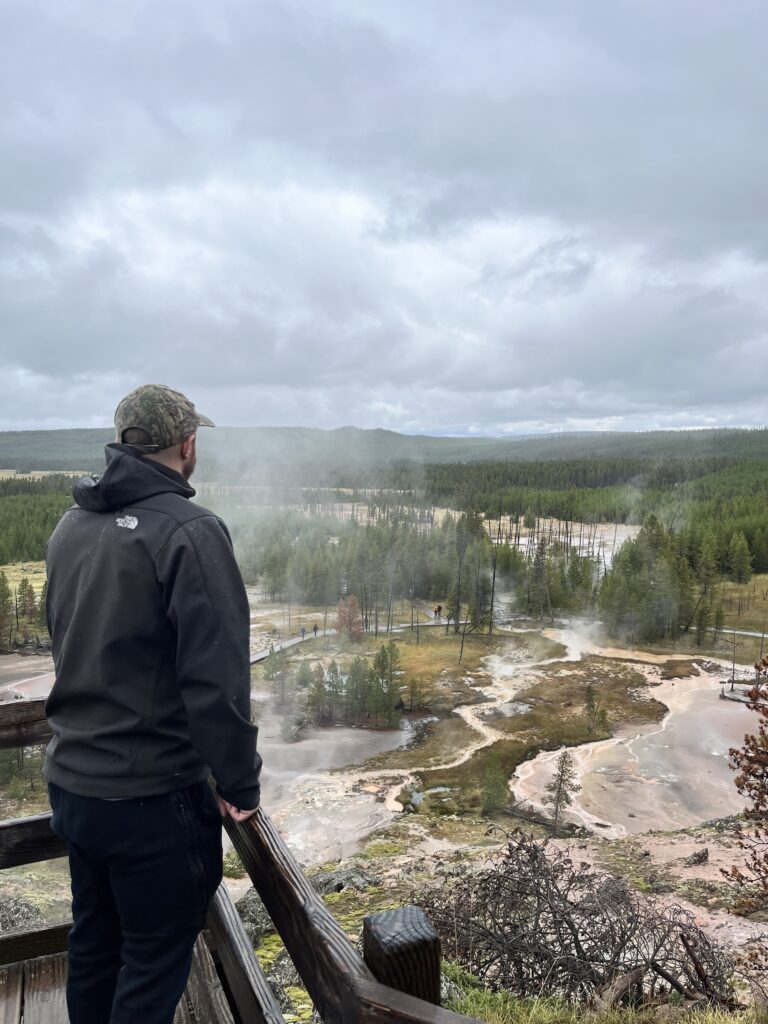
Artists Paintpot Trail
If you are short on time, this is one that I would recommend skipping. It is a short one mile loop, but has many of the same features as the Norris Geyser basin trails. If you have the time though, it is a lovely walk and my favorite were the mud pots! It was very reminiscent of when I was a child pretending to brew potions outside with mud and sticks.
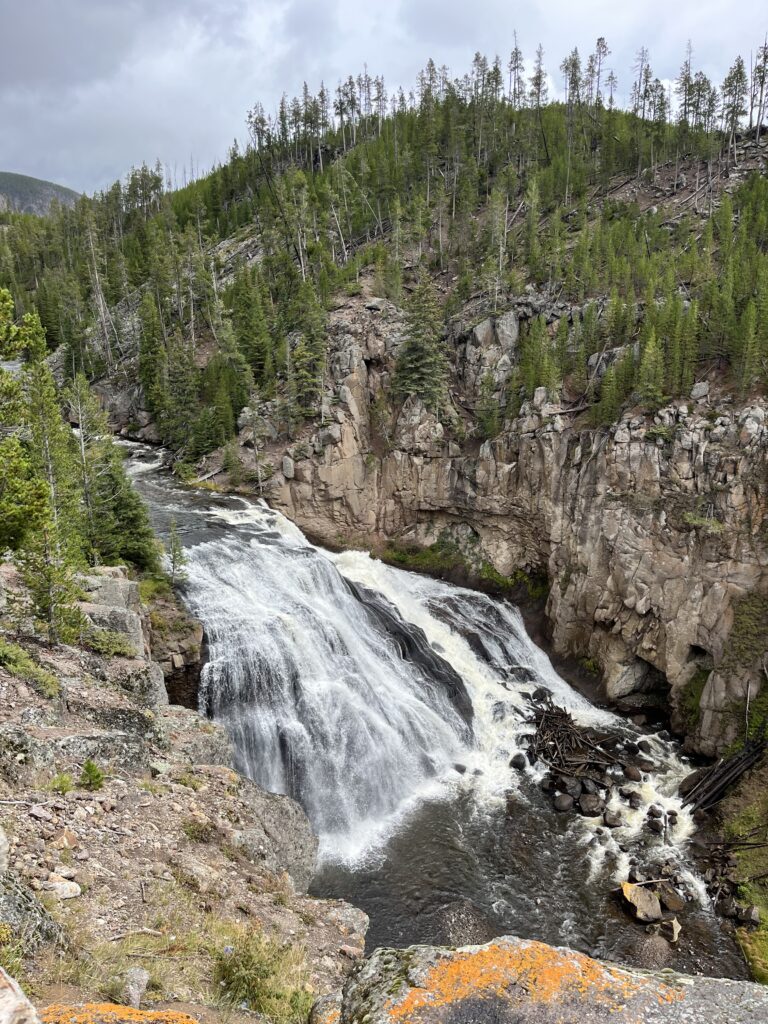
Gibbon Falls
If you’re a waterfall fanatic like me, this is worth the quick stop! It is just off the road and has many scenic views that you can look out at the falls. The waterfall drops 84 feet, according to the NPS website, and is a part of the Gibbon River.
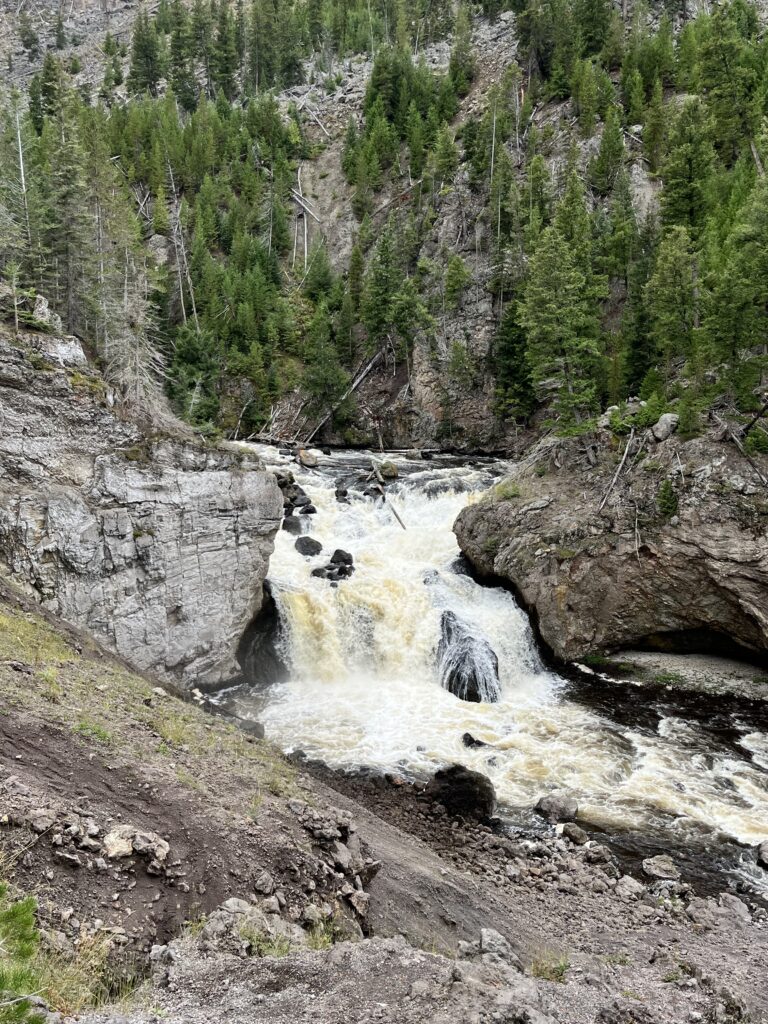
Firehole Canyon Drive and Firehole Falls
Continuing south around the park, there is a short road called Firehole Canyon Drive. There is another, slightly smaller waterfall on this road called Firehole Falls. Also along this road is a swimming area, but we were there in September, so we did not partake in any water activities.
Stay at Mammoth Hot Springs Lodge
After the Firehole Canyon Drive, I recommend taking the scenic drive back north to stay at Mammoth Hot Springs Lodge. Depending on your time, you can either explore the area further here, or just relax in your room!
Day 1 Summary
- Drive Time: 2.5+ hours
- Restaurants: Mammoth Terrace Grill
- Lodging: Mammoth Hot Spring Lodge and Cabins
Day 2
The first day of our trip through Yellowstone National Park was a whirlwind of sight seeing and activities! Gear up for the Day 2, because we weren’t slowing down any time soon.
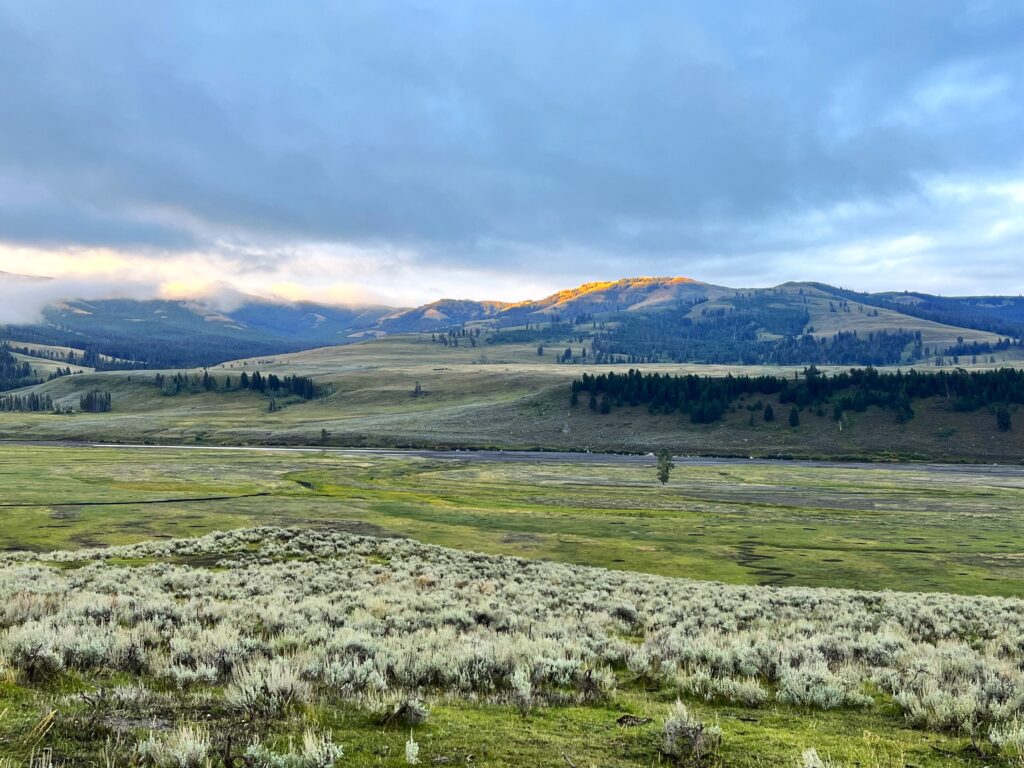
Lamar Valley
Set your alarms for o-dark thirty, because you’ll not want to miss the wildlife in Lamar Valley. It’s about an hour drive to the valley from Mammoth, and you’ll want to be there before the sun rises. Check your weather app to determine the sunrise time, and plan to be there at least a half an hour before that. Some of the highlights of our time there was seeing a wolf pack in the middle of hunting, large buffalo herds, and a grizzly bear! When coming into the valley, just look for cars pulled off the side of the road with people looking through scopes. We were fortunate enough to come across a lovely couple, who lent us their higher powered binoculars, and let us look through their scope! We are still in touch with them about our travels to this day.
Tower Fall
Another large waterfall along the Yellowstone River is Tower Fall. It is a short walk from the parking area, just off the main road. This waterfall is 132 foot drop. It is just a quick stop and I recommend it!
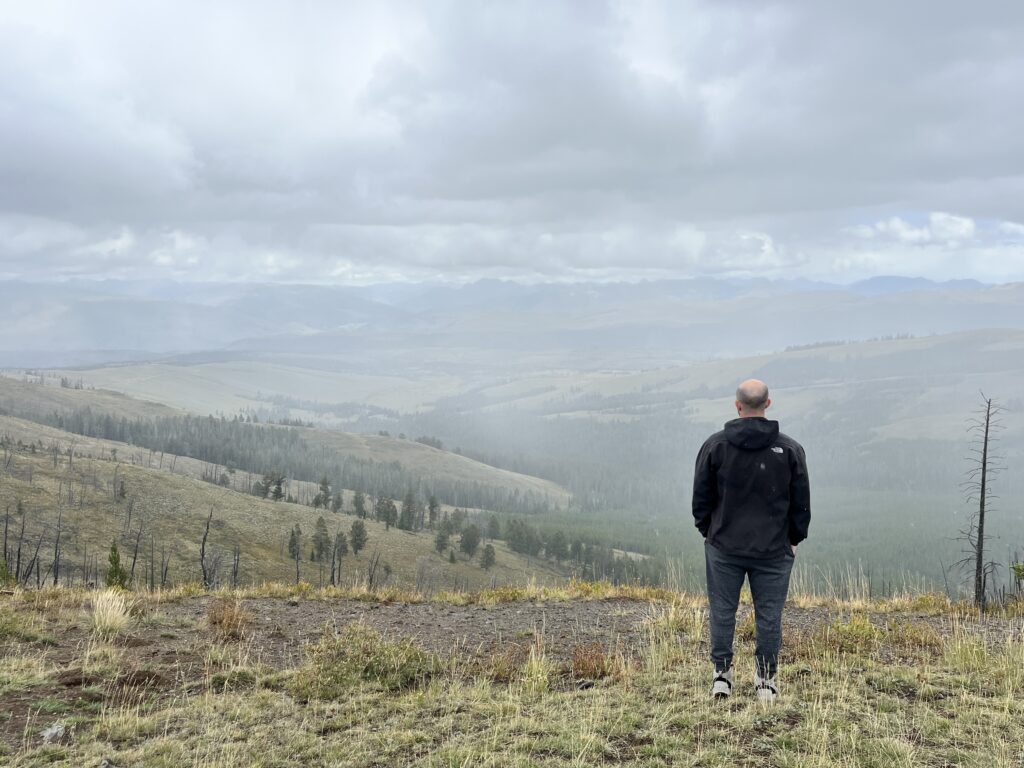
Chittenden Road to Mount Washburn Hike
Chittenden Road is a road off of Grand Loop Road. From here you can start the Mount Washburn Hike, if you wish. We did not do the full hike, but walked a little ways up the trail to a lookout over the valley. The road is hard to spot though! We drove past it twice before we found it. If you don’t want to do the hike, I recommend skipping this.


Grand Canyon of the Yellowstone
The Grand Canyon of the Yellowstone was hands down my favorite part of the park. The immense canyon, huge waterfalls, and stunning colors make this a can’t miss spot!
Upper Falls
The Brink of the Upper Falls Trail is an easy out and back 0.3 mile trail that is paved that takes you right to the top of the Upper Falls! This was our first stop of the Grand Canyon of the Yellowstone and it set the stage for what was to come. The immense power of the water falling over the rocks will take your breath away!
Artist Point
Artist Point is an un-missable stop in Yellowstone National Park. Another highly accessible area of the park, there is a paved path with multiple lookouts that let you gaze down the canyon at the impressive 308 foot waterfall of the Lower Falls. If you have the time, I definitely recommend coming here or other areas mentioned below at different times of day to see how the colors change based on the sun!
Upper Falls View Point
Another vantage point to look at the Upper Falls. If you have the time, it’s worth a stop! We walked some of the pathways and saw a few marmots, which we had not seen yet. If you are short on time, just visit the brink of the upper falls trail mentioned above, or this view point.
North Rim Drive (After dinner!)
We got a tip from a park ranger that made all the difference for this road. The North Rim drive is a one way road, and can get very congested with traffic from people having to stop and let others pull in and out of parking spots. Not to mention this road has many other viewing options of the Lower Falls, so it is a hot commodity! The ranger gave us the tip to go during or after dinner, so that most people in this area of the park would be busy eating. And wow, what a difference it made. We practically had the road and viewpoints to ourselves, whereas earlier in the day when we drove by, we could see the line of traffic. Definitely take advantage of lower crowds during dinner time!
Lookout Point and Grand View Point
Both easy access view points with short walks to views from this side of the canyon. We also opted for the hike further down into the canyon at Lookout point, called the Red Rocks Lookout. But it is noted that while this trail is very short, it is extremely steep and a difficult trail.
Another steep and difficult trail that we did not complete was the Brink of the Lower Falls Trail, but we heard it is fantastic! But again one that park rangers cautioned us on based on the steepness and difficulty of the trail.
After this action packed day that began before sunrise, you’ll be longing for the cozy bed inside your room!


Day 2 Summary
- Drive Time: 2+ hours
- Restaurants: The Eatery at Canyon Village
- Lodging: Canyon Lodge & Cabins
Day 3
We began our third day with a final trip to Artist Point. I couldn’t resist one last look at the canyon and Lower Falls, especially in that tranquil morning light!
Sulphur Cauldron
Continuing south along Grand Loop Road, we started to make our way around towards Old Faithful for our final night within the park. Just off the road is the Sulphur Cauldron, and if you choose to stop here, you will quickly understand why it is named as such.
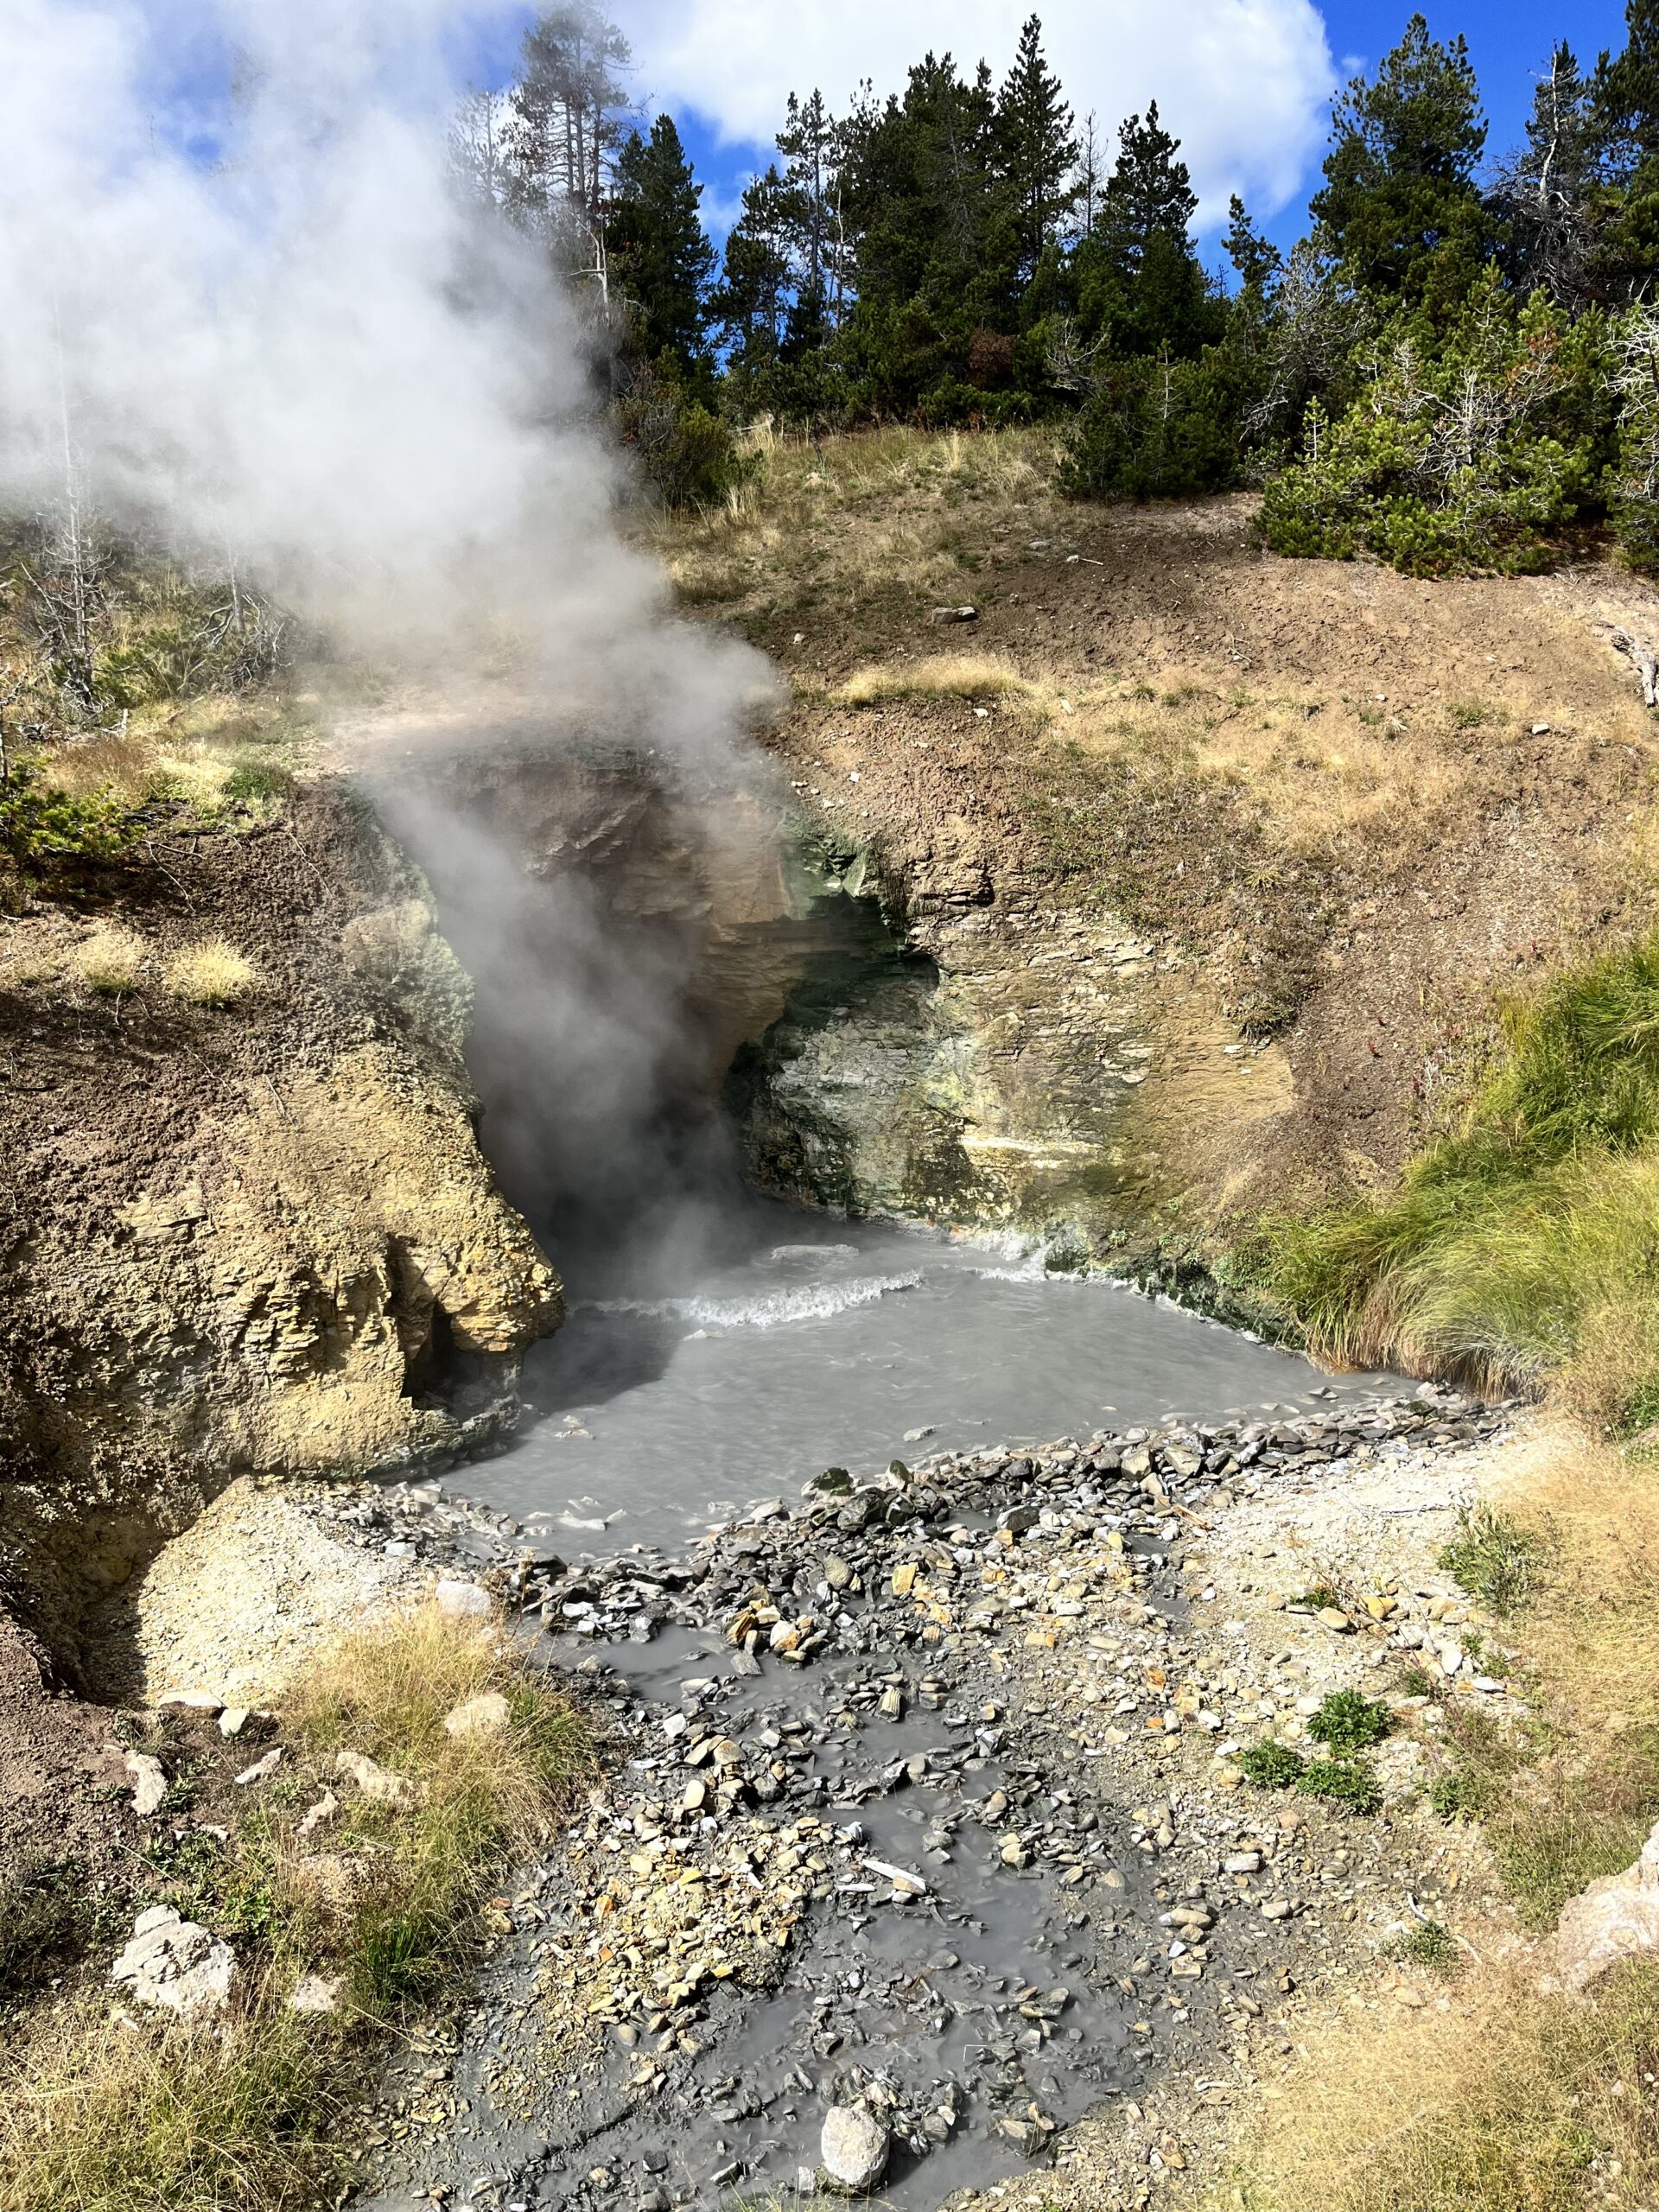
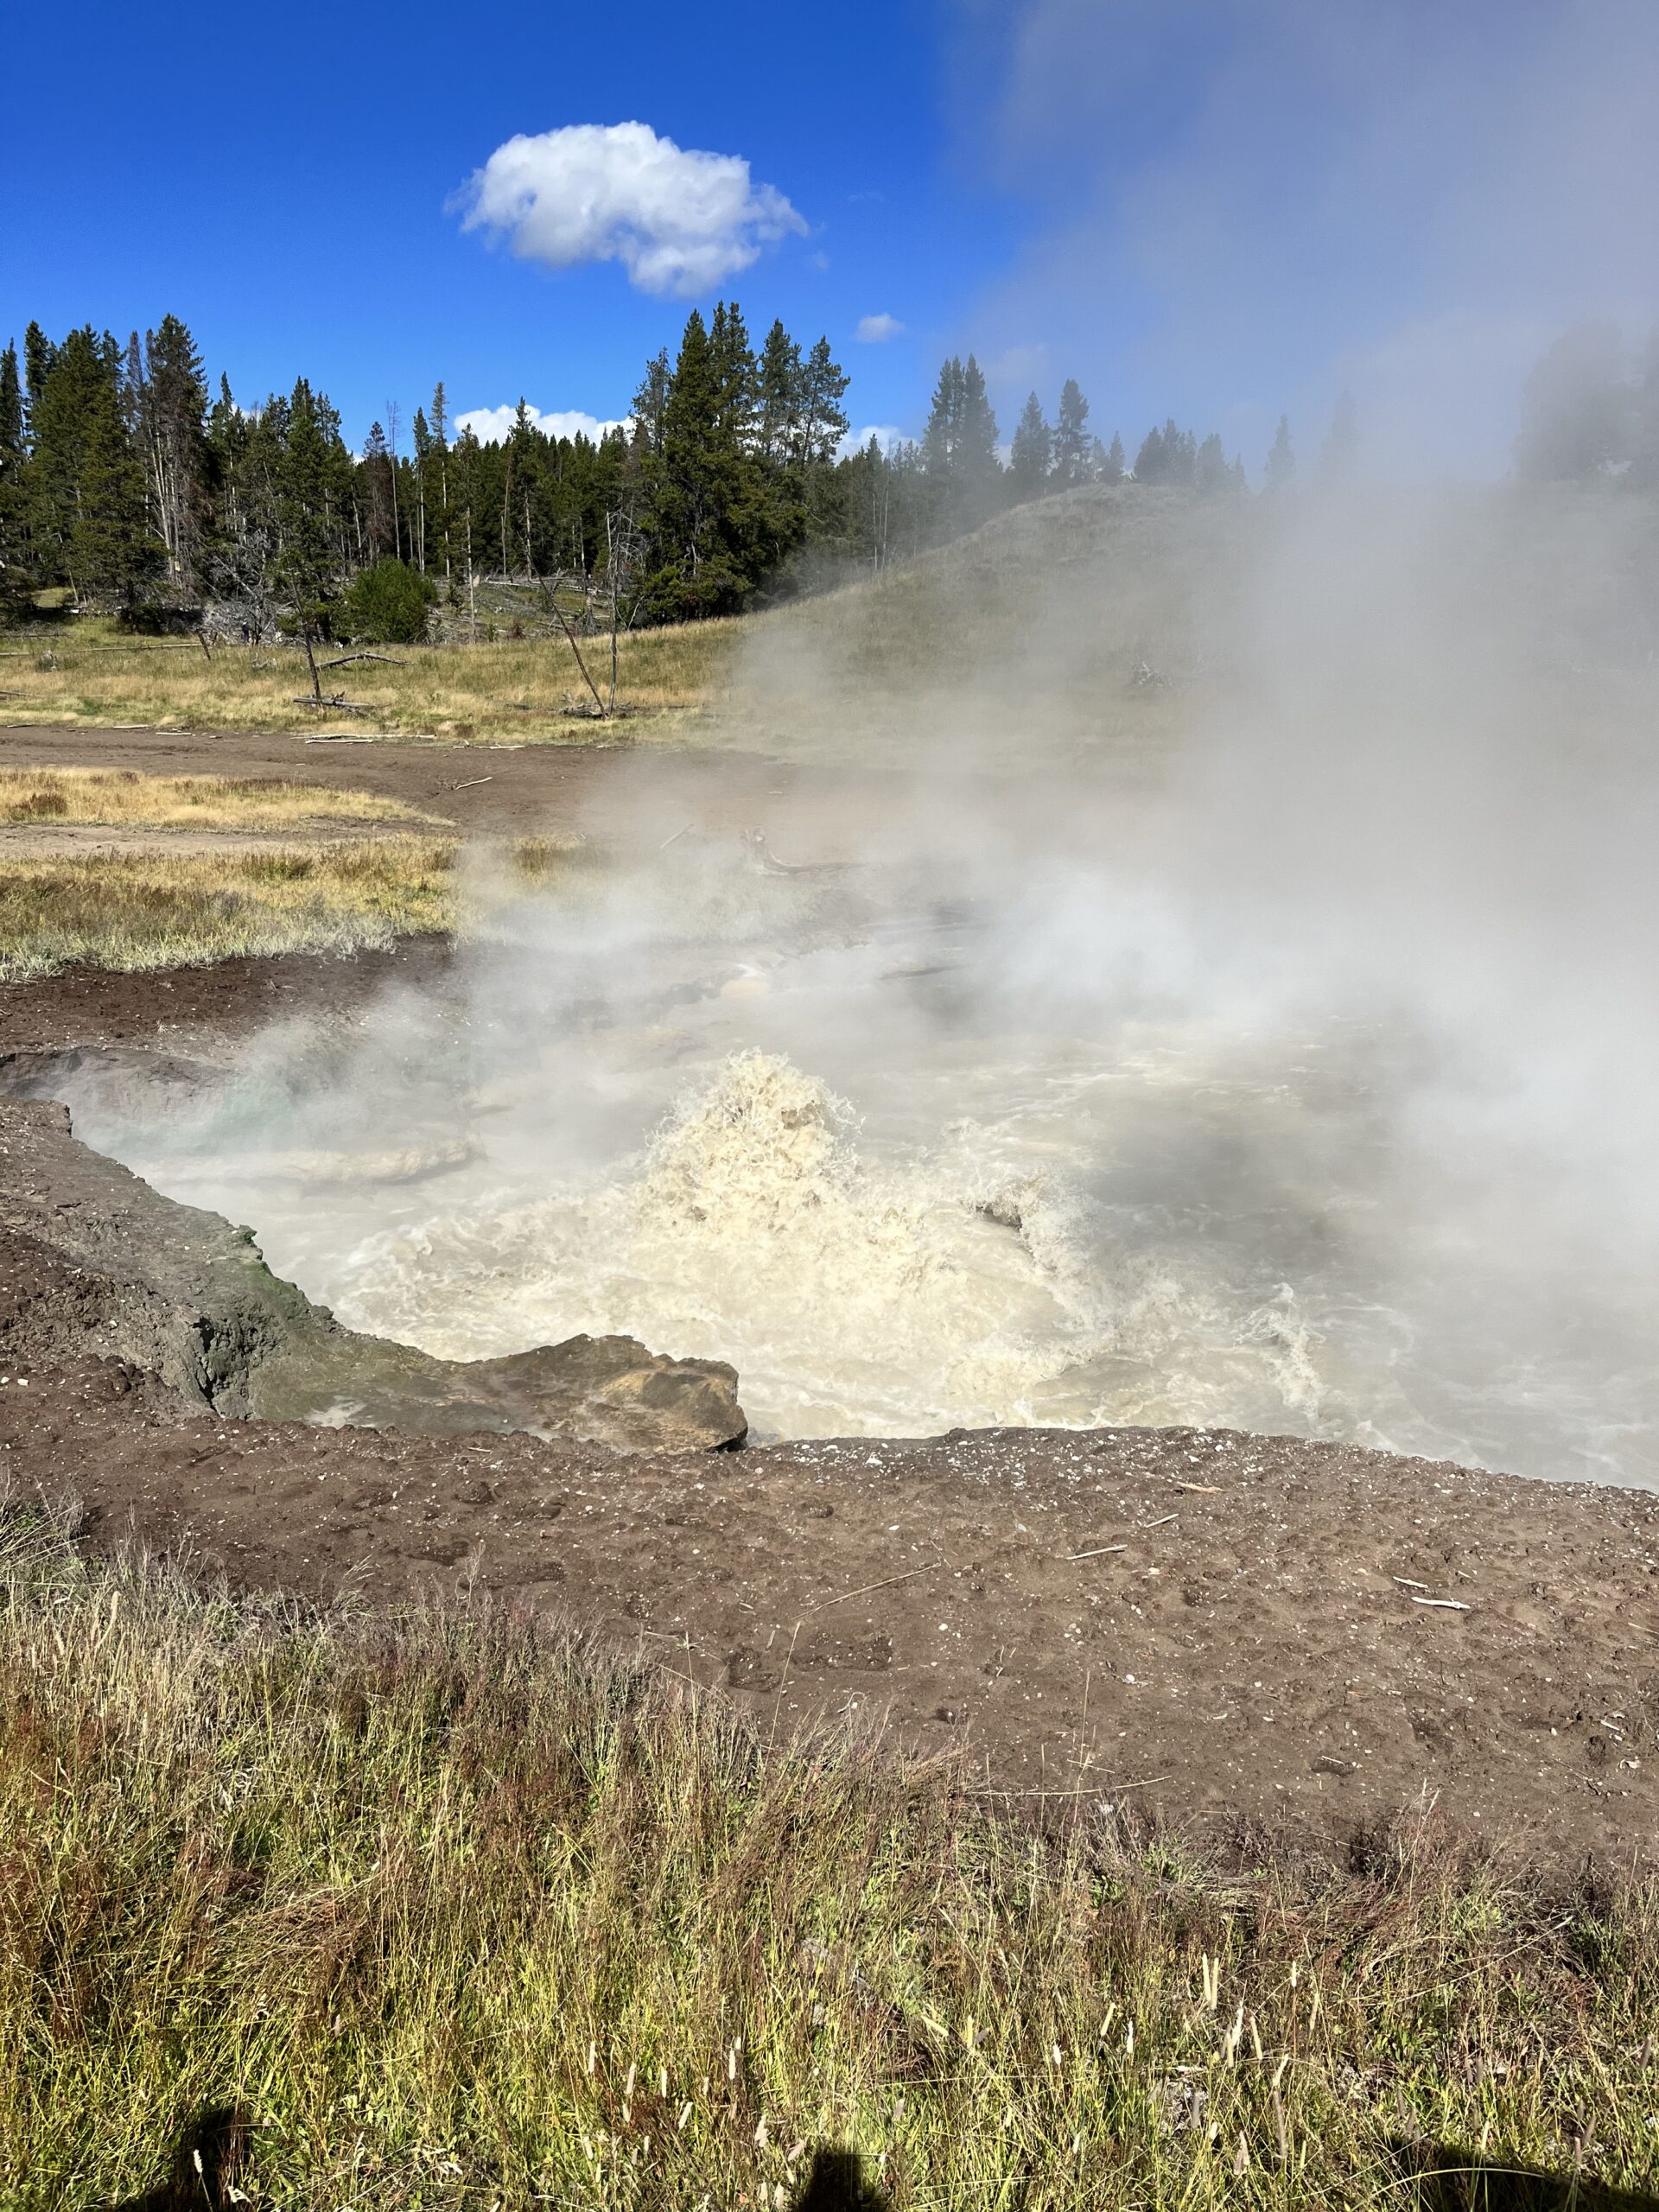
Mud Volcano Boardwalk Trails
The Mud Volcano Trail is another 0.8 mile boardwalk trail through mud pots. It was fascinating to hear the air escaping through the vents in the earth’s crust and to see all the mud bubbling! However, if you are short on time, you likely have already seen most of these hydrothermal features already and this could be a spot to skip.
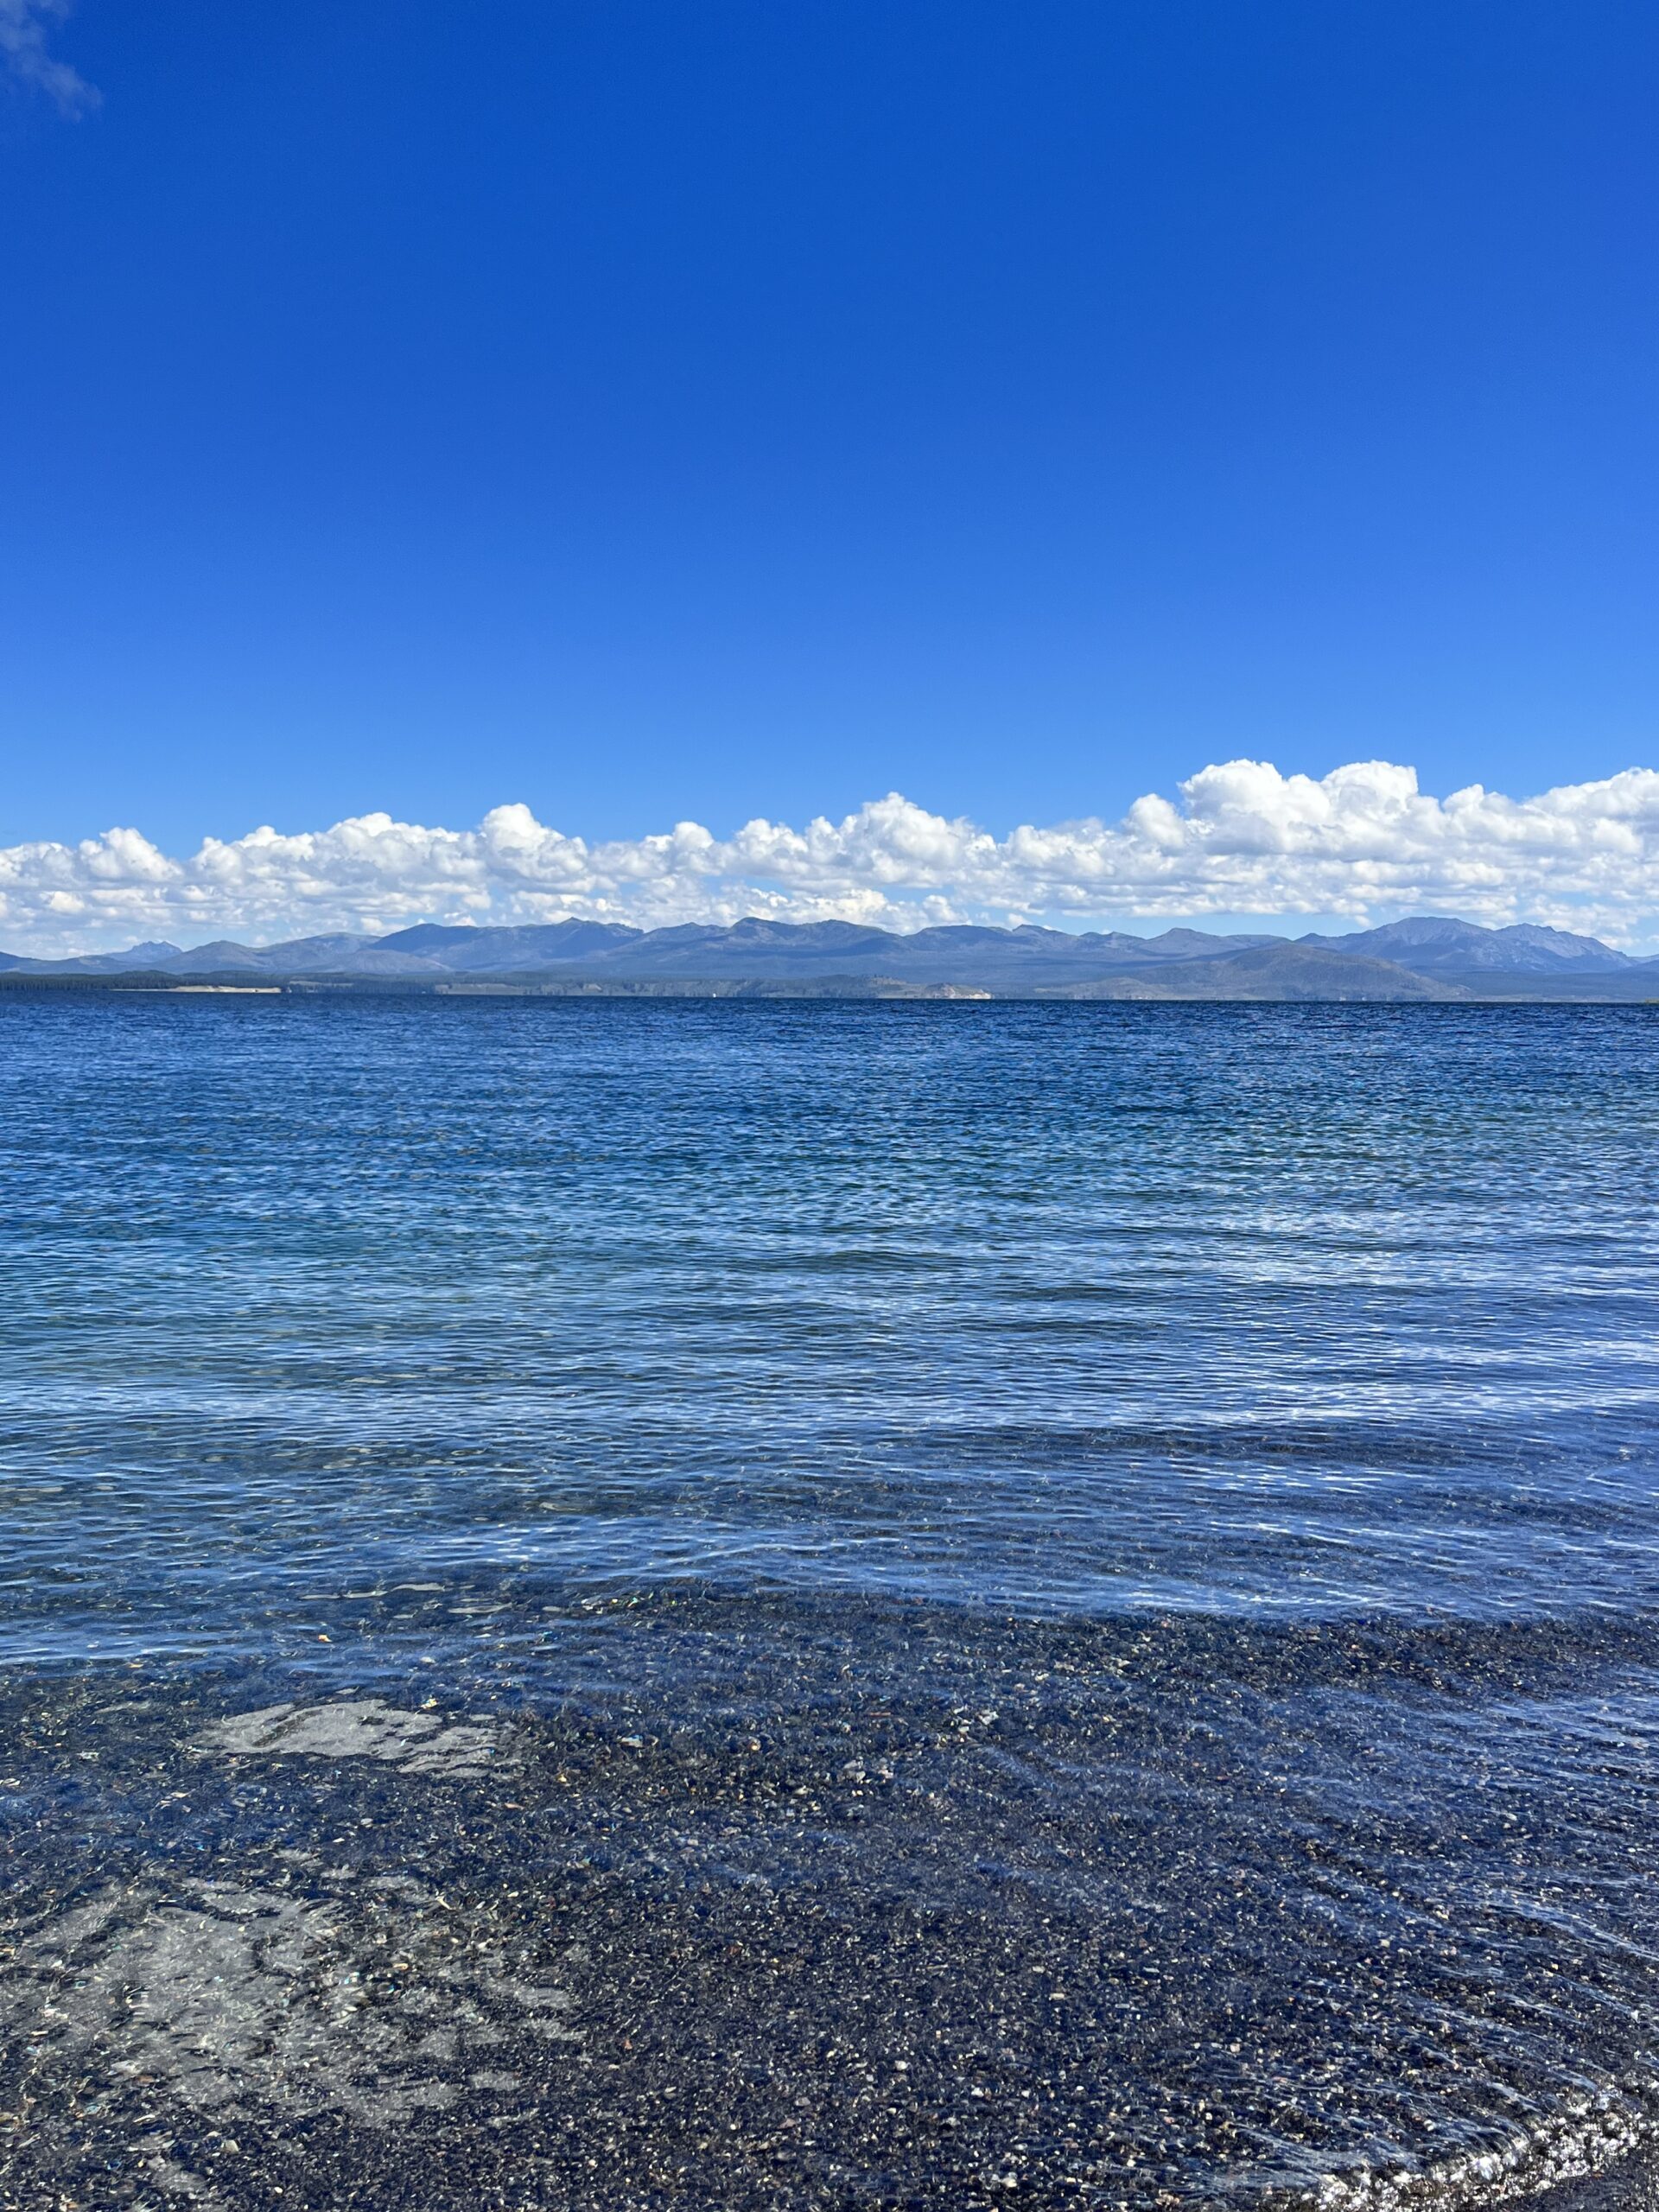
Lake Yellowstone/Gull Point Drive
We stopped at Fishing Bridge for a National Park Passport stamp, then continued to drive around Yellowstone Lake. Although this is another stunning area of the park, we didn’t spend a lot of time here. However throughout our quick trip around the drive, we could see how the lake provides beautiful vistas with mountain ranges behind it. After another tip from a helpful park ranger, we opted to take Gull Point drive for a more scenic route, and found a lovely picnic area for lunch alongside the lake!
West Thumb Geyser Basin
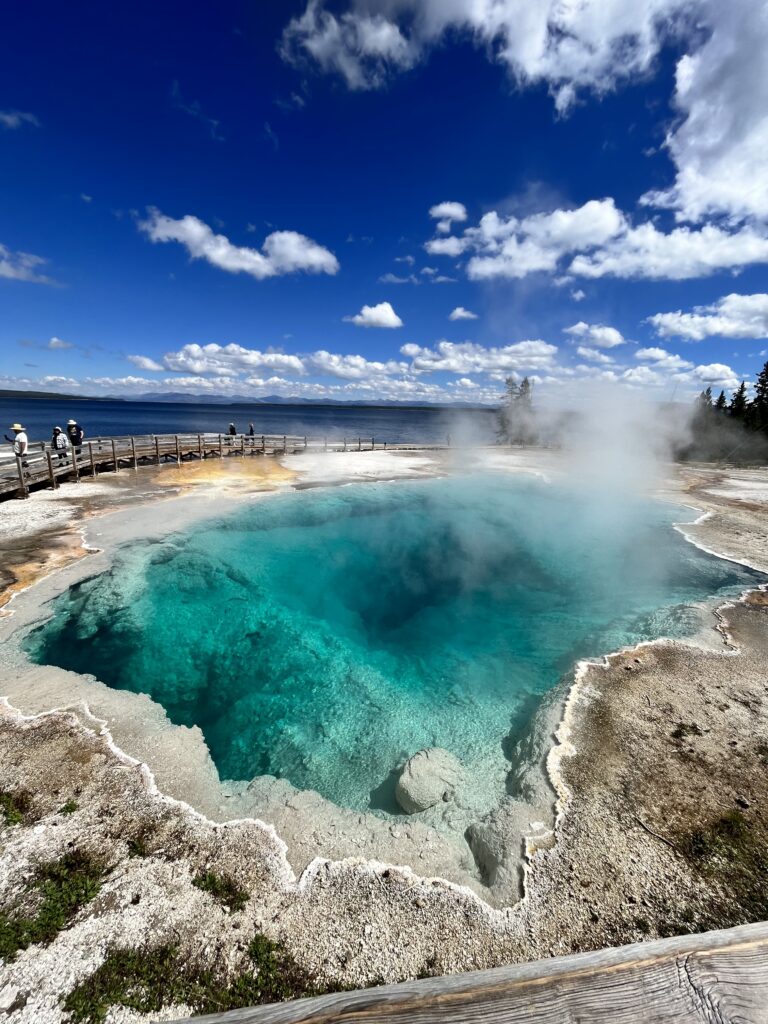
West Thumb Geyser Basin was a location that we almost skipped. We hadn’t heard much about it, and thought maybe we could just keep going. But, that little voice in our heads reminded us that we didn’t know when we would be back to this area of the world, so we might as well check it out. And wow, I am SO glad we did. It turned out to be my second favorite part of the park! The Abyss Pool is the deepest, most beautiful turquoise color I have ever seen. This was an underrated part of the park that, in my opinion, is a can’t miss! To complete both loops it is approximately 1 mile.
Old Faithful & The Upper Geyser Basin
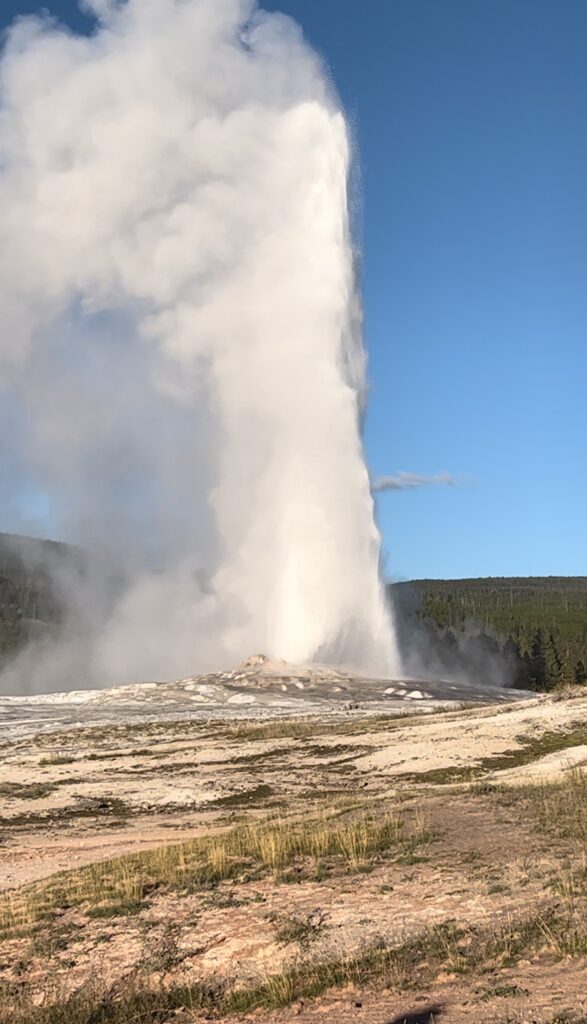
Old Faithful is Yellowstone’s most well known feature. The geyser sits in a basin with more than 150 other hydrothermal features, and erupts approximately every 90 minutes. There are many other geysers within this area as well. The park rangers track the 5 biggest geysers here and predict their eruptions. Our travel luck struck again, as we got to see the Beehive geyser erupt, which is much less frequent than Old Faithful, but actually erupts to a taller height! Be sure to look at the schedule and get to the Old Faithful viewing area early to secure a good seat! It is an iconic Yellowstone experience. Be prepared for higher crowds in this area of the park. It has the most park facilities, and is a top attraction for most park goers!
Old Faithful Inn
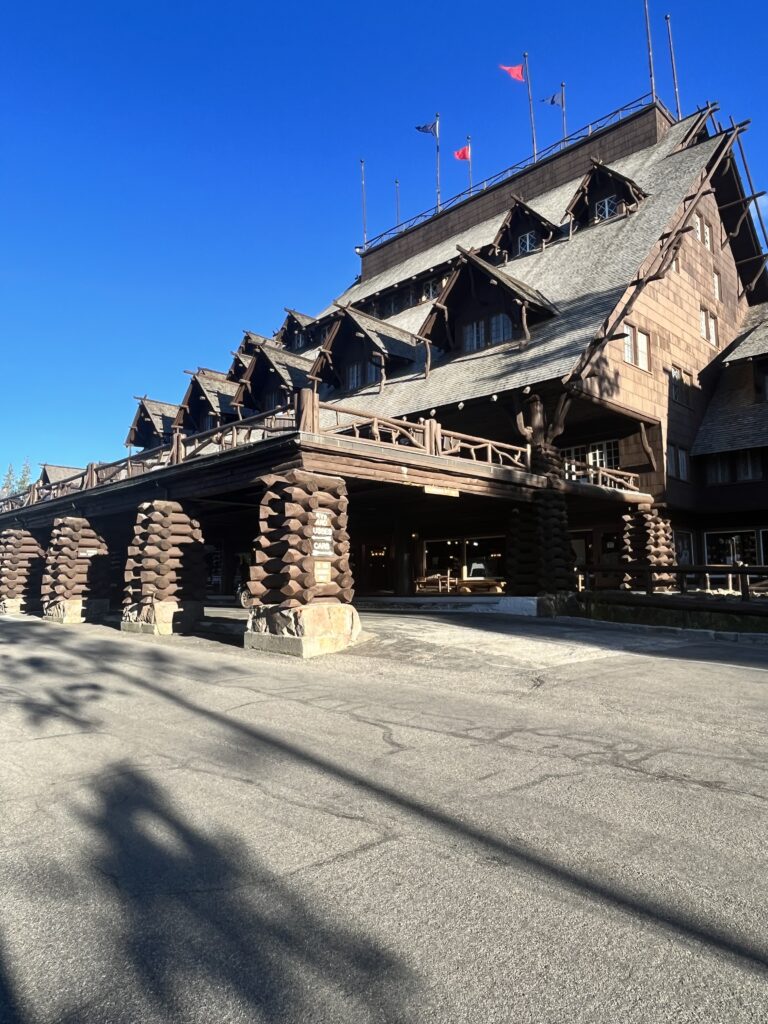
The Old Faithful Inn is a national historic landmark, and was built in 1904. It is the most requested lodging within the park. We did not stay within the lodge, but one of the nearby cabins. However, even if you are not staying in the lodge, I highly recommend walking through it to see it for all its beauty! The woodwork inside is truly spectacular.
Grand Prismatic Spring Overlook Trail
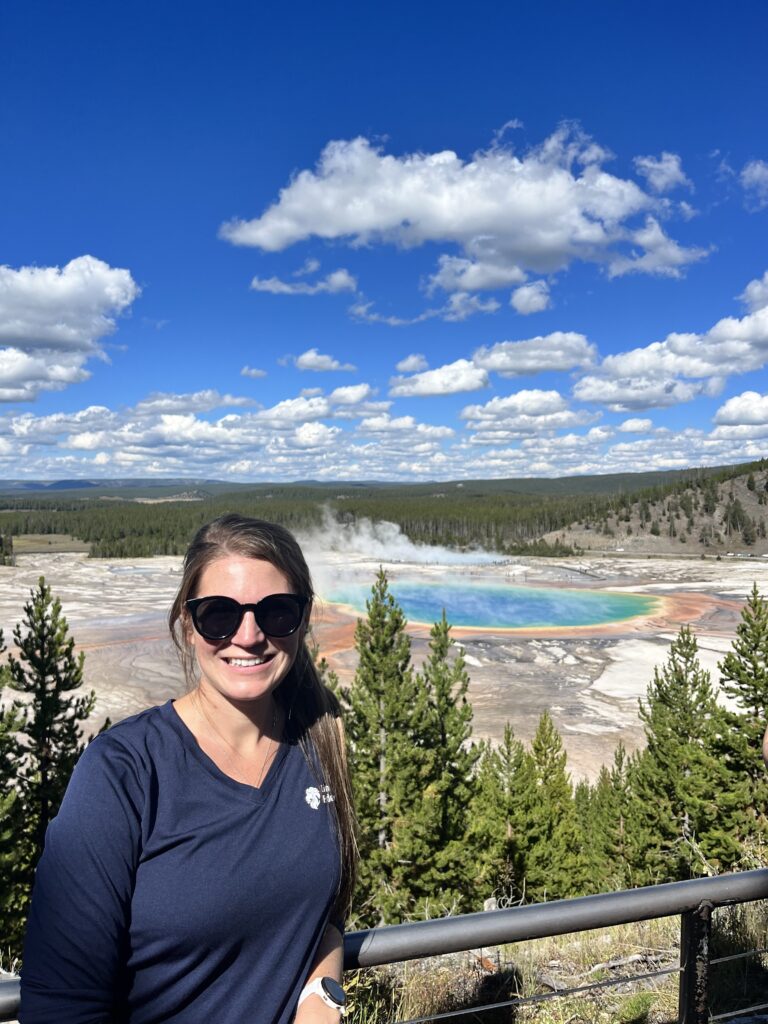
The Grand Prismatic Spring overlook trail is a 1.5 mile out and back trail that is rated as easy by All Trails. The trail head starts at the Fairy Falls trailhead. The trail takes you up to an overlook platform to gaze out over the hot spring’s gorgeous rainbow colors. Be prepared for this trail and platform to be busy! We had to wait several minutes to get a spot where we could take unobstructed photos.
Pro tip: Do not try to avoid the crowds by going in the early morning or late evening. At these cooler times of day, more steam rises from the hot spring, which can obstruct the dazzling colors!
Midway Geyser Basin Boardwalk
This 0.7 mile boardwalk takes you by the Grand Prismatic Spring, Excelsior Geyser, and Opal and Turquoise pools. If you are short for time, this would be another one I would skip. You can’t see much of the colors of the springs from this vantage point. However, it is neat to be able to walk right overtop of these areas surrounding the hot springs!
Day 3 Summary
- Drive Time: 2+ hours
- Restaurants: Old Faithful Lodge Cafeteria
- Lodging: Old Faithful Lodge and Cabins
Day 4
By day 4 of our trip, we were averaging 20,000 steps per day. Can you tell that we like to see and do it all on our vacations? Make sure to pack good walking shoes for this trip! While the Yellowstone National Park portion of our trip was ending, we were so excited to head south towards Grand Teton National Park. Even though we were walking a lot through Yellowstone, most of it was flat, paved, or a board walk, so we were eager to hit the trails in the Teton mountains.
Drive to Grand Teton National Park
We woke up early on Day 4 to head south to Grand Teton National Park. Grand Teton National Park shares a border with Yellowstone. I will not lie. It was not the most exciting scenery for most of the drive, but once you get into the heart of Grand Teton, the mountains will take your breath away!
Delta Lake Hike via Lupine Meadows
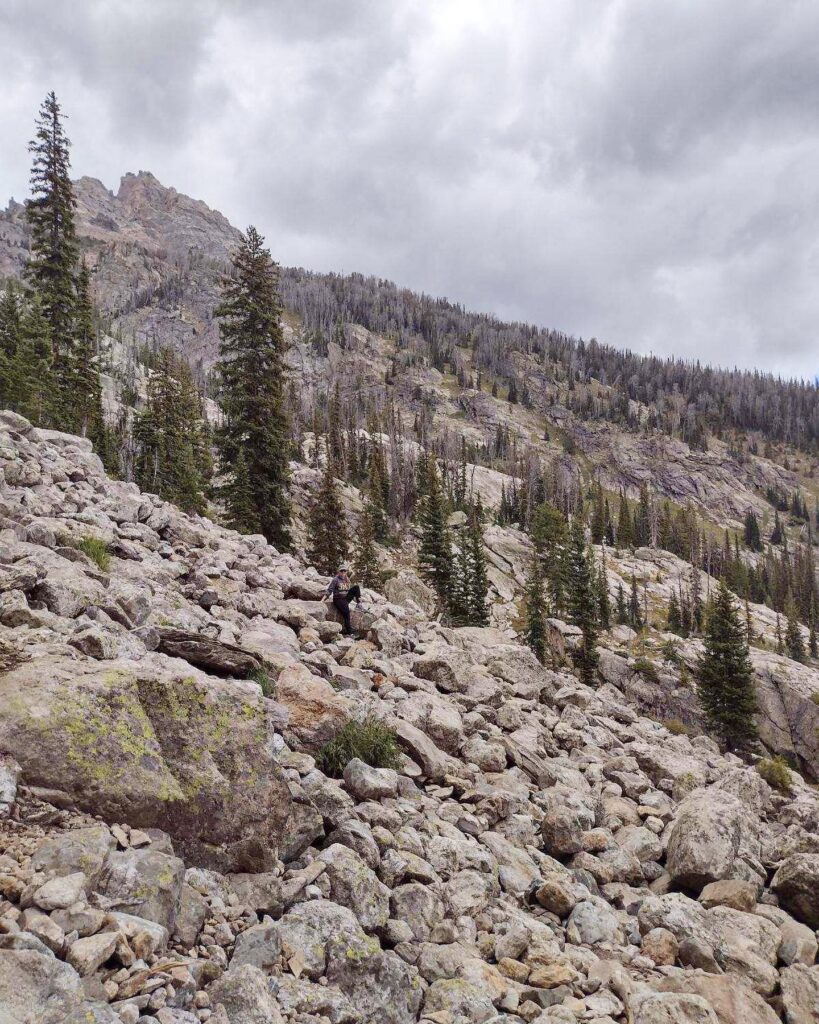
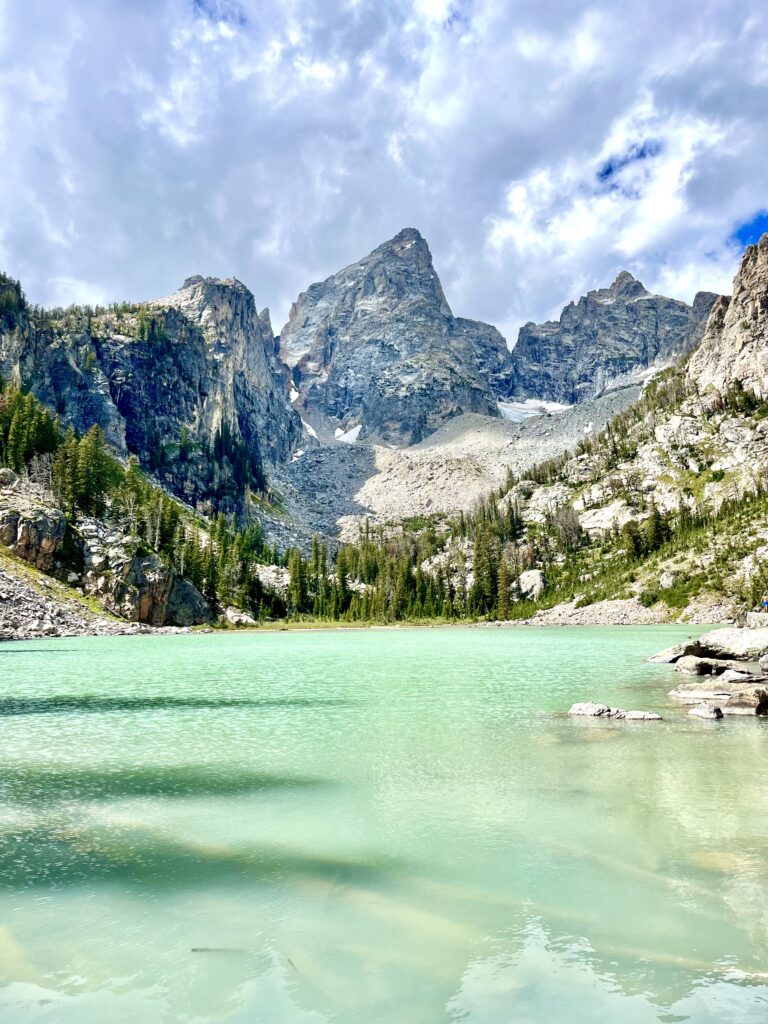
When researching Grand Teton National Park, I kept reading about the Delta Lake hike, and I knew I wanted to do it. I read it was a very strenuous hike, so we decided to do it on our first day in the park. Upon arriving into Grand Teton, we headed straight for the Lupine Meadows trailhead. The trail is a 7.4 mile out and back trail, with over 2,000 feet of elevation gain. There is a rock scramble, and the trail past a certain point is not marked.
I almost turned back during the rock scramble, but was so glad I pushed through my fears and made it to the top! The sparkling light teal waters of Delta Lake were worth the uphill struggle. After completing the hike, I have never been more excited to see the car. We were exhausted after this challenging hike and rested the remainder of the evening in our cabin.

Day 4 Summary
- Drive Time: 3+ hours
- Restaurants: Pioneer Grill
- Lodging: Colter Bay Cabins
At the time of writing this, some of the roads were still closed, so it was not allowing me to create a map of the most efficient way to get fromYellowstone to Grand Teton. I will update this in a few weeks when the roads are fully open!
Day 5
Jenny Lake/Moose Pond/Hidden Falls/Inspiration Point/Cascade Canyon
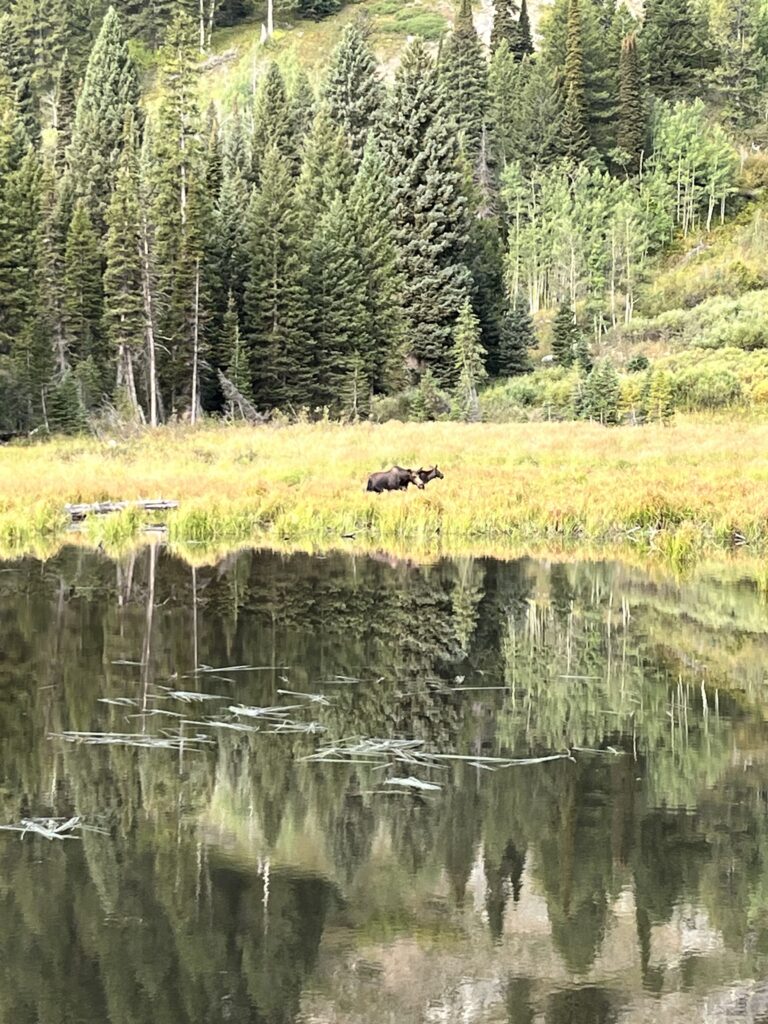
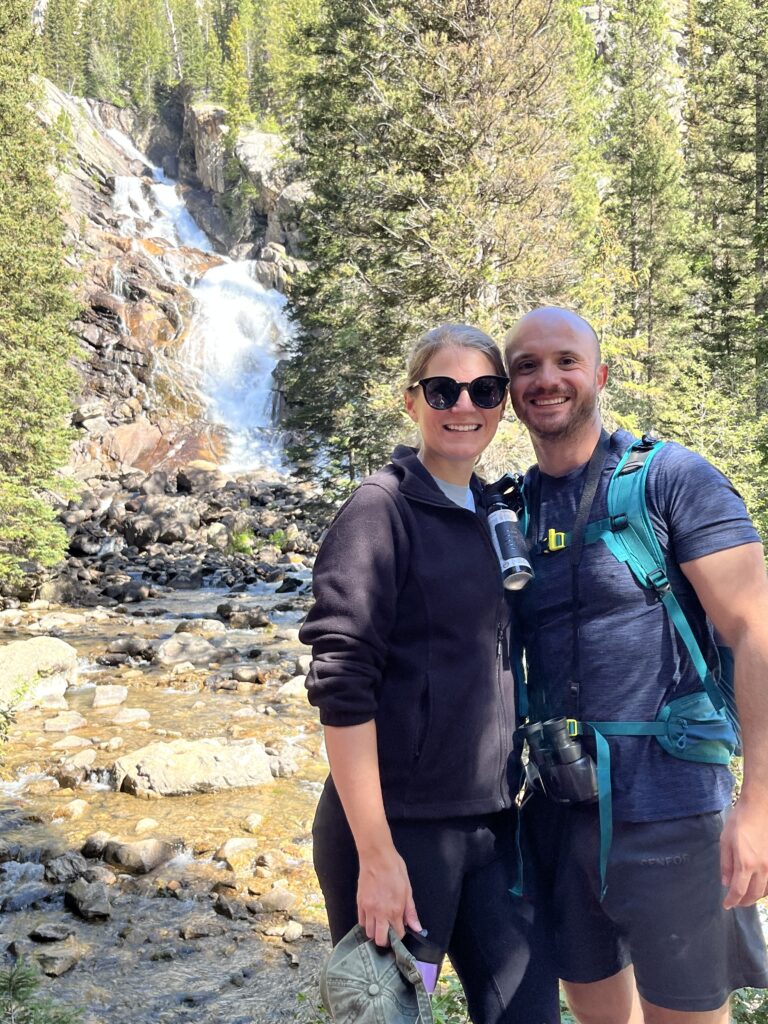
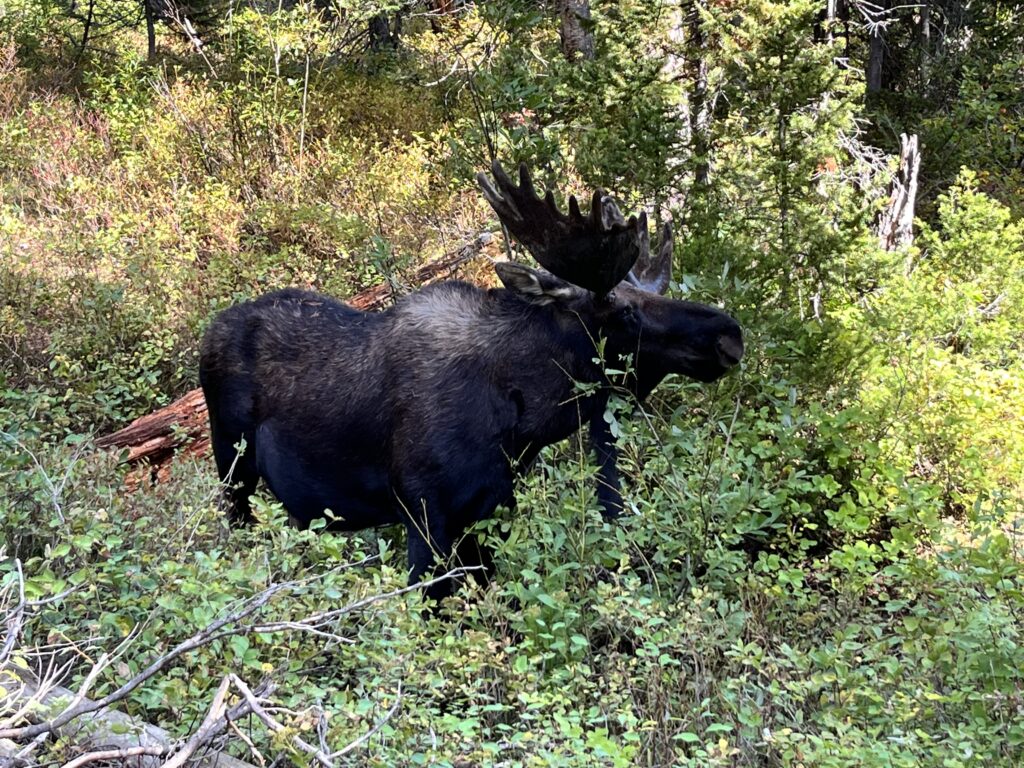
We decided to make our own trail, by combining multiple trails into one! Forging our own path, we began with a walk to Moose Pond, where we got so lucky to see a mama moose and her baby across the pond grazing! Continuing on around the lake, we had planned to go straight to Inspiration Point, but made a quick detour to Hidden Falls first. Have you caught on yet that I love waterfalls? Then after Inspiration Point we continued down into Cascade Canyon.
What we loved about Cascade Canyon is we were able to escape from the crowds, and it was much more peaceful. You can decide to hike all the way down the canyon, or turnaround whenever you feel like it. We decided to head back about half way down the canyon, because my legs were toast. There is a boat shuttle across Jenny Lake that you can pay a small fee that will cut much of this hike we did off. At the end, I wished we had paid the fee to get back across!
Mormon Row for Iconic Barn Photo
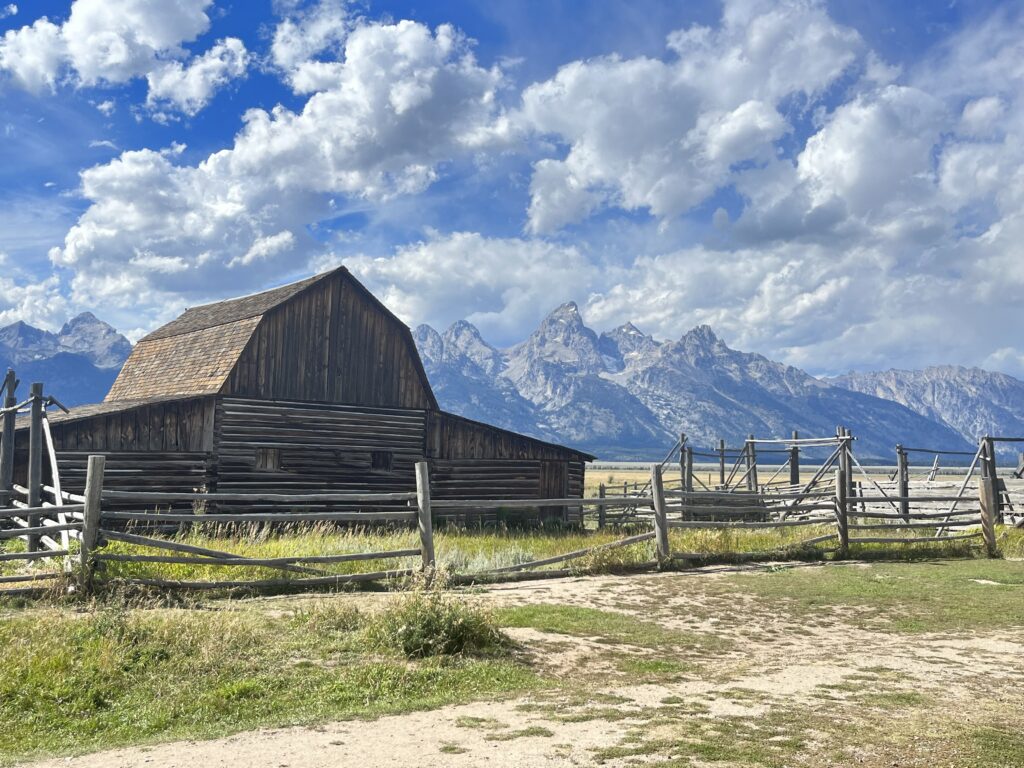
I bet if you’ve ever googled Grand Teton National Park, the photo that you see is the one with the John Moulton Barn on Mormon Row with the mountain range in the background. Can you picture it in your mind? This is where we headed after our long day of hiking! You will want to make time to take a quick stop here, it will not disappoint!
Jackson Hole
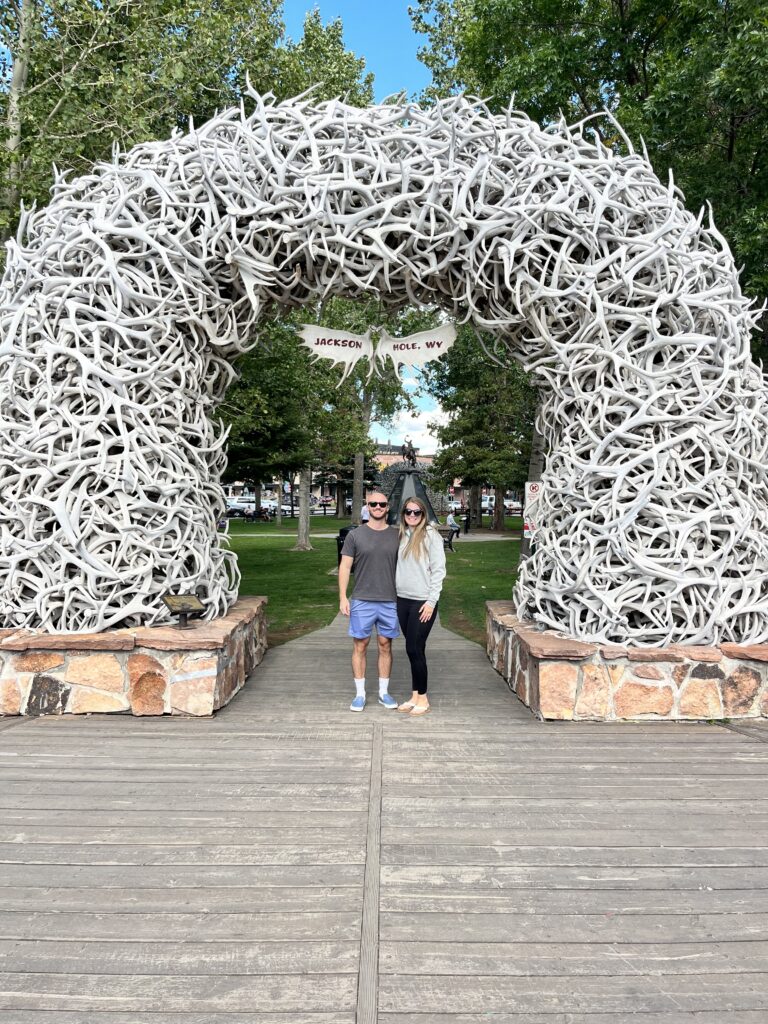
After another long day of hiking, we ventured into the nearby charming mountain town of Jackson Hole. We walked around, did some window shopping, and ate pizza by the slice at Pinky G’s Pizzeria! While here, make sure you get a picture under one of the antler arches!
Day 5 Summary
- Drive Time: 2+ hours
- Restaurants: Pinky G’s Pizzeria
- Lodging: Colter Bay Cabins
Day 6
Oxbow Bend
On our last full day of our trip, we started out by going to Oxbow Bend, as we had heard there was a beaver spotted in this area. Sadly we did not get to see the beaver, but the views were once again outstanding!

Taggart and Bradley Lakes Hike
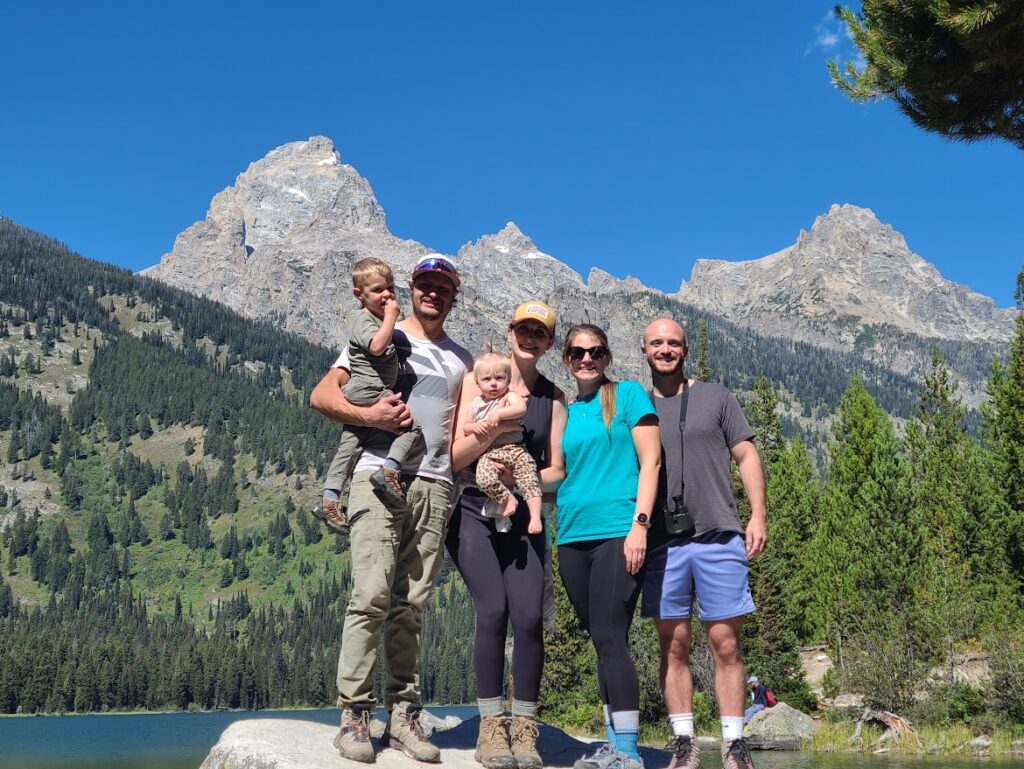
After Oxbow Bend, we met up with some friends of ours who live a few hours away from Grand Teton, and their two kiddos. We chose a more family friendly hike for today, knowing we would have two toddlers in tow. Once again, we forged our own path by combining hikes for Taggart and Bradley Lake. This was easy enough to do with the All Trails app, as I could see exactly where we were and how to continue around Taggart lake, up to Bradley lake. We were so happy we decided to do this, because we all agreed that we enjoyed Bradley lake more! We enjoyed a picnic lunch on the shores of Bradley Lake before heading back to the cars.
Jackson Hole
Upon completing our hikes for the day, we all went into Jackson Hole again for some souvenir shopping. After this, we followed our friends back to their home in Idaho to conclude the trip. If you do not have friends in Idaho, you can stay another night within Grand Teton National Park, or find lodging in Jackson Hole.
Day 6 Summary
- Drive Time: 1-2 hours
- Restaurants: We ate at a restaurant on our way to Idaho, but I would recommend checking out some other restaurants in Jackson Hole!
- Lodging: Colter Bay Cabins or accommodations in Jackson Hole
Day 7
Depart for Home
Sadly, our amazing one week Yellowstone and Grand Teton National Park trip had to come to an end. The best flight options for us were out of Salt Lake City (SLC) airport, and ours was a red eye. We woke up on the last day of our trip, had breakfast with our friends, then packed up for the drive to Salt Lake City. My dad lives just outside of Salt Lake, so he and his girlfriend were able to come meet us for dinner before we headed to the airport, which was such a nice way to end our vacation!
There are two other airports that are closer to the ending point of this trip, Jackson Hole Airport (JAC) and Idaho Falls Airport (IDA). These are both smaller airports, and therefore you will likely find you’ll pay a premium to fly out of here, and likely will have to connect at another airport, dependent upon your destination. The closest major airport is Salt Lake City.
Travel Tips and Safety
Some products I would recommend packing or purchasing for this trip:
- A hiking backpack, preferably one with a water bladder
- A bear bell
- Layers for clothing
- Hiking socks
- Body glide anti chafing balm if you are prone to blisters
- Binocculars
- Hiking app
- Bear spray (Pro Tip: we actually did not have to purchase or rent bear spray! Try this tip: visit any visitor center and ask the rangers at the information desk if they have any bear spray. You cannot fly with bear spray, so many people will purchase it and leave it behind!)
Final Thoughts
Yellowstone National Park and Grand Teton National Park are two places that should be on everyone’s bucket list. Between the wildlife, otherworldly hydrothermal features, grandiose waterfalls and canyons, and sweeping mountain vistas, there is something for everyone in this sliver of the world. There are countless things to do, places to stay, and restaurants to sample! I hope that through this detailed itinerary, it will help inspire you to plan your own amazing Yellowstone and Grand Teton adventure!
Did you use any of the information on this post to create your own Yellowstone and Grand Teton adventure? Let me know in the comments below!

